Chewy S’mores Cookies – Campfire Nostalgia Baked
S’mores cookies are a delightful intersection of campfire nostalgia and everyday indulgence. Who doesn’t instantly picture crackling fires, starry skies, and the sweet, gooey perfection of a classic s’more? Well, we’ve managed to bottle that magic into a cookie form, creating a treat that’s even more accessible and equally irresistible. These aren’t just any cookies; they’re an experience. Each bite of these s’mores cookies promises that familiar symphony of flavors: the rich, dark chocolate, the toasted marshmallow aroma, and the buttery graham cracker base. What makes them truly special is their ability to capture the essence of that beloved campfire treat without requiring a bonfire. They’re perfect for satisfying a sudden craving, sharing at a potluck, or simply making any day feel a little more celebratory. Get ready to fall in love with these perfectly portable blasts of s’mores joy!
S’mores Cookies
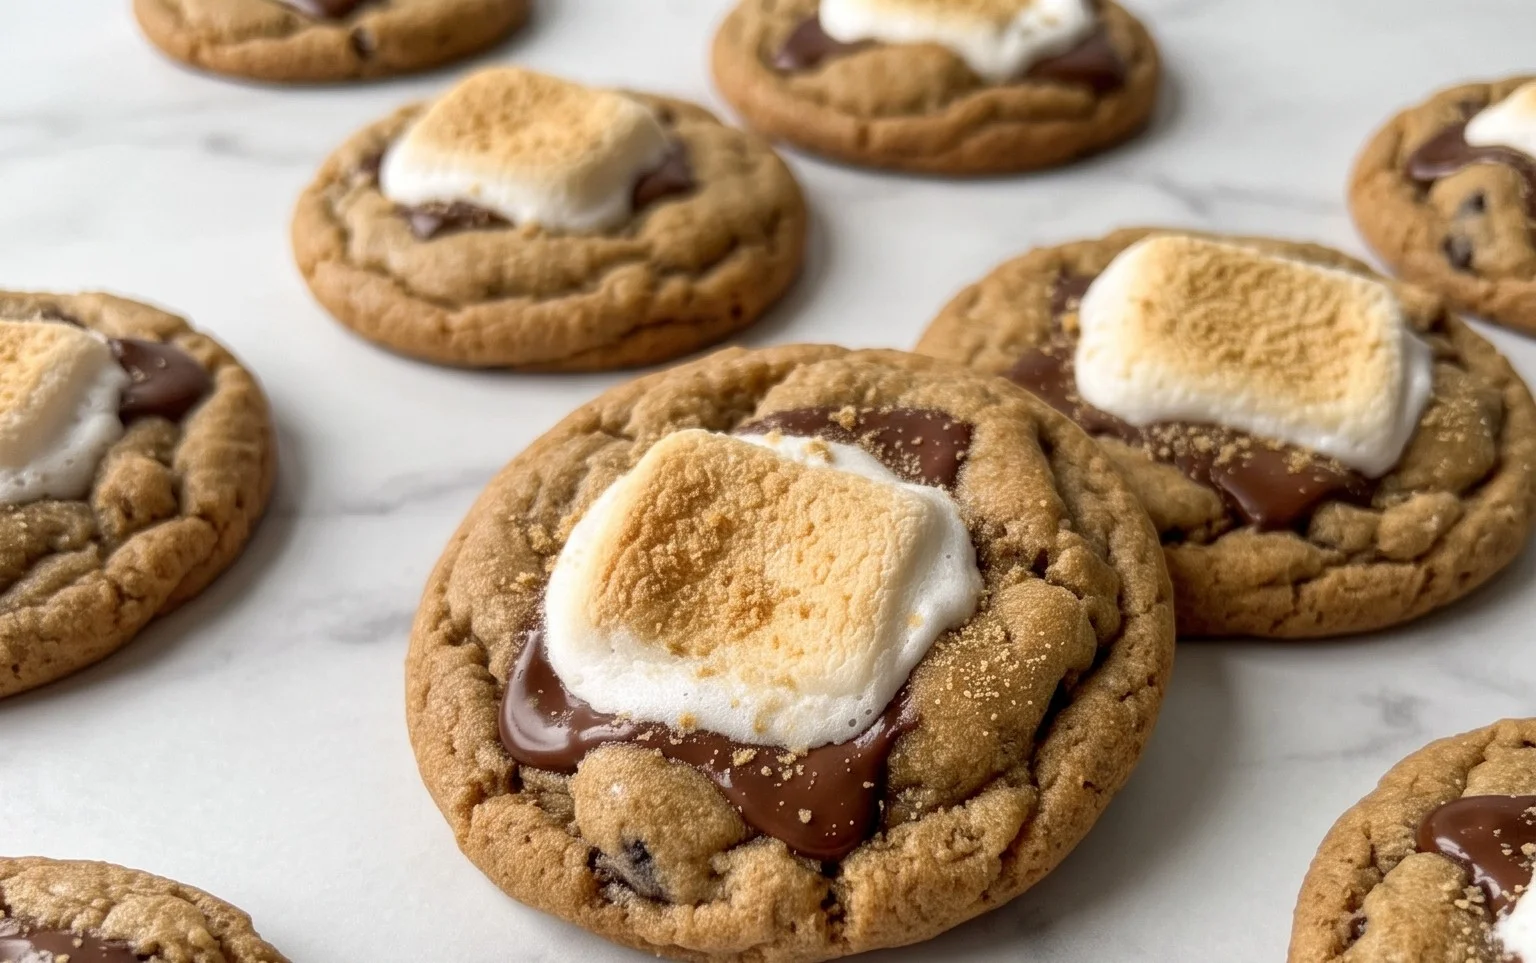
Are you ready for a taste of pure nostalgia? These S’mores Cookies are a delightful fusion of campfire magic and home-baked goodness. Imagine the gooey, melted chocolate, the pillowy marshmallows, and the satisfying crunch of graham crackers, all wrapped up in a chewy, buttery cookie. That’s exactly what you get with this recipe. It’s the perfect treat for a cozy evening, a backyard barbecue, or just when you need a little bit of happy. We’re taking all the best elements of a s’more and transforming them into an irresistible cookie form. Get ready to impress yourself and anyone lucky enough to share these with you!
Ingredients:
- ½ cup butter, softened
- ½ cup granulated sugar
- ¼ cup light brown sugar, packed
- 1 teaspoon vanilla extract
- 1 large egg
- 1 ⅔ cups all-purpose flour
- ½ teaspoon baking soda
- ¼ teaspoon salt
- ½ cup mini semisweet chocolate chips
- ½ cup mini marshmallows, halved
- ¼ cup graham cracker crumbs
Instructions:
1.
Creaming the Butter and Sugars
Begin by preheating your oven to 375°F (190°C) and lining a baking sheet with parchment paper. This step is crucial for easy cleanup and preventing your cookies from sticking. In a large mixing bowl, cream together the softened butter, granulated sugar, and packed light brown sugar. Use an electric mixer (handheld or stand mixer with a paddle attachment works best) on medium speed until the mixture is light and fluffy, about 2-3 minutes. This process incorporates air into the dough, which helps create a tender cookie. Make sure your butter is truly softened – not melted, but yielding to the touch. If it’s too cold, it won’t cream properly. If it’s too warm, your cookies might spread too much.
2.
Adding Wet Ingredients and Vanilla
Once the butter and sugars are beautifully creamed, it’s time to add the wet ingredients. Beat in the large egg until well combined, scraping down the sides of the bowl as needed to ensure everything is incorporated evenly. Then, stir in the vanilla extract. The vanilla not only adds a wonderful aroma but also enhances the sweetness and complexity of the flavors. Mix until just combined. Don’t overmix at this stage; we’re just incorporating the ingredients.
3.
Combining Dry Ingredients and Incorporating Them into the Dough
In a separate medium bowl, whisk together the all-purpose flour, baking soda, and salt. Whisking the dry ingredients helps to distribute the baking soda and salt evenly throughout the flour, preventing pockets of bitterness or excessive spreading. Gradually add this dry mixture to the wet ingredients in the large bowl, mixing on low speed until just combined. Be careful not to overmix the dough once the flour is added; overmixing can develop the gluten in the flour, resulting in tough cookies. We want tender, chewy cookies, so mix until you no longer see streaks of flour.
4.
Adding the S’mores Goodies
This is where the magic really happens! Gently fold in the mini semisweet chocolate chips, the halved mini marshmallows, and the graham cracker crumbs. The graham cracker crumbs add that authentic s’more flavor and a subtle texture. When adding the marshmallows, work gently to avoid completely crushing them. We want little pockets of gooey, melted marshmallow goodness. Folding these ingredients in by hand with a spatula ensures they are evenly distributed without overworking the dough. The dough will be slightly sticky at this point, which is perfectly normal.
5.
Shaping and Baking the Cookies
Drop rounded tablespoons of dough onto the prepared baking sheets, leaving about 2 inches between each cookie to allow for spreading. If you like, you can press a few extra chocolate chips or a sprinkle of graham cracker crumbs on top of each cookie for an extra decorative touch. Bake for 8-10 minutes, or until the edges are lightly golden brown and the centers are still slightly soft. The marshmallows may puff up and some might even char slightly – this is part of the s’more charm! For an extra touch, after removing the cookies from the oven, you can press a few extra mini marshmallows onto the still-warm cookies, allowing them to soften and become extra gooey. Let the cookies cool on the baking sheet for a few minutes before transferring them to a wire rack to cool completely. The residual heat will continue to cook them slightly. Enjoy these delightful S’mores Cookies warm or at room temperature!
Conclusion:
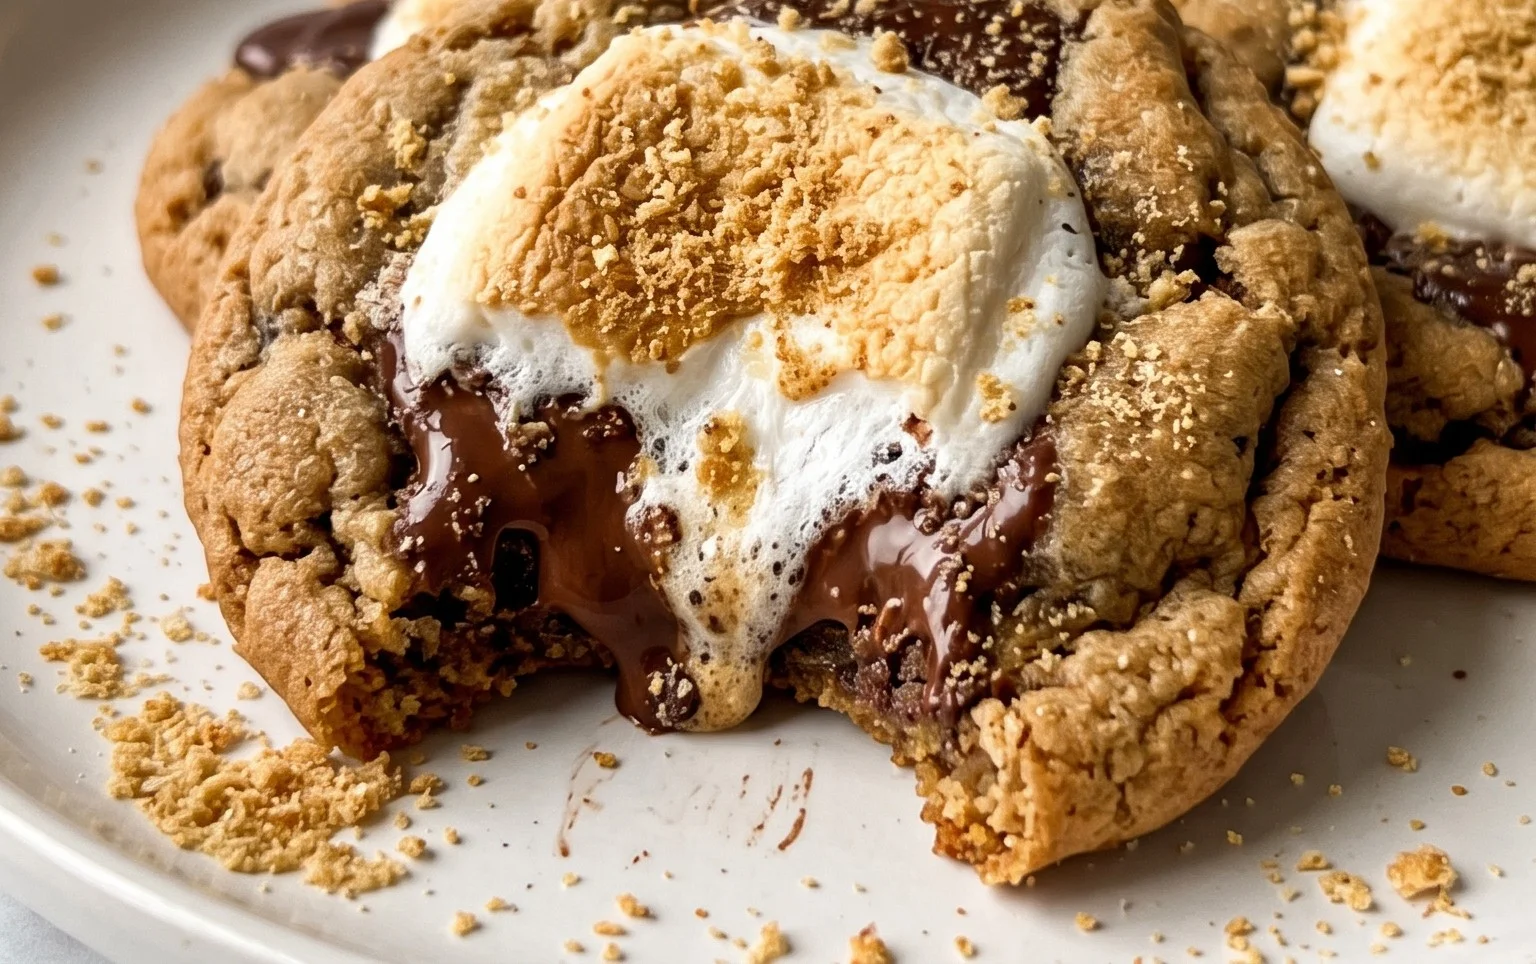
And there you have it – the ultimate guide to creating perfect S’mores Cookies! This recipe truly captures the essence of campfire magic in every bite. The combination of chewy cookie dough, gooey melted marshmallows, and rich chocolate chunks is simply irresistible. These cookies are wonderfully versatile, making them ideal for bake sales, potlucks, or just a cozy night in. They’re incredibly forgiving, so don’t be afraid to jump in and give them a try!
For serving suggestions, imagine these warm S’mores Cookies alongside a cold glass of milk, or even drizzled with a little extra melted chocolate for an indulgent treat. They also make a fantastic base for an ice cream sandwich! If you’re feeling adventurous, consider adding some chopped graham crackers into the dough for an even more authentic s’mores experience, or a pinch of sea salt on top to balance the sweetness.
I truly encourage you to bake up a batch of these delightful S’mores Cookies. They’re guaranteed to bring smiles and satisfy those sweet cravings. Happy baking!
Frequently Asked Questions:
Can I make these S’mores Cookies ahead of time?
Yes, absolutely! You can prepare the cookie dough and store it in an airtight container in the refrigerator for up to 3 days. You can also freeze the dough balls on a baking sheet until firm, then transfer them to a freezer-safe bag for up to 3 months. Just bake them directly from frozen, adding a few extra minutes to the baking time.
What kind of chocolate is best for S’mores Cookies?
For that classic s’mores flavor, milk chocolate chips are fantastic. However, you can also use a mix of milk and dark chocolate chips for a richer taste. Chopped chocolate bars also work wonderfully, as they melt into gooey pockets. Don’t be afraid to experiment with different types of chocolate!
My marshmallows are burning too quickly. What can I do?
If your marshmallows are browning too fast, you can try a couple of things. Ensure your oven temperature is accurate. You might also want to cover the cookies loosely with foil during the last few minutes of baking to prevent excessive browning. Alternatively, you can slightly underbake the cookies and then place them under the broiler for just 30-60 seconds, watching them *very* closely, until they are golden and slightly puffed.
S’mores Cookies
A delightful cookie that captures the classic flavors of s’mores with gooey marshmallows, chocolate, and graham cracker crunch.
Ingredients
-
½ cup butter
-
½ cup granulated sugar
-
¼ cup light brown sugar (packed)
-
1 teaspoon vanilla extract
-
1 large egg
-
1 ⅔ cups all-purpose flour
-
½ teaspoon baking soda
-
¼ teaspoon salt
-
½ cup mini semisweet chocolate chips
-
½ cup mini marshmallows (halved)
-
¼ cup graham cracker crumbs
Instructions
-
Step 1
Preheat oven to 350°F (175°C). Line baking sheets with parchment paper. -
Step 2
In a large bowl, cream together the butter, granulated sugar, and brown sugar until light and fluffy. -
Step 3
Beat in the vanilla extract and egg until well combined. -
Step 4
In a separate bowl, whisk together the flour, baking soda, and salt. -
Step 5
Gradually add the dry ingredients to the wet ingredients, mixing until just combined. Stir in the chocolate chips and graham cracker crumbs. -
Step 6
Drop rounded tablespoons of dough onto the prepared baking sheets. Press the halved mini marshmallows into the top of each cookie dough ball. -
Step 7
Bake for 9-11 minutes, or until the edges are golden brown and the marshmallows are soft and slightly melted. -
Step 8
Let cookies cool on the baking sheets for a few minutes before transferring them to a wire rack to cool completely.
Important Information
Nutrition Facts (Per Serving)
It is important to consider this information as approximate and not to use it as definitive health advice.
Allergy Information
Please check ingredients for potential allergens and consult a health professional if in doubt.