Nostalgic Star Crunch Cookies-Easy Homemade Treat
Star Crunch Cookies are more than just a nostalgic treat; they’re a little bite of childhood magic that brings a smile to anyone’s face. If you’ve ever craved that distinct, chewy, caramel-chocolatey goodness, you’re in for a real delight. These aren’t your average cookies; they’re a unique experience, a fusion of textures and flavors that dance on your palate. What makes Star Crunch Cookies so utterly irresistible? It’s that perfect balance – the satisfying chew of the cookie base, the rich burst of chocolate, and the unmistakable, slightly gooey caramel that makes each bite an adventure. They evoke memories of simpler times, of school lunches and celebratory afternoons. Get ready to recreate this beloved classic in your own kitchen and share that joy with everyone you know!
A Trip Down Memory Lane
We all have those food memories, the ones that instantly transport us back to happy moments. For many, Star Crunch Cookies are precisely that – a delightful portal to childhood joy. The sheer anticipation of unwrapping that foil-lined treat, the explosion of sweet, satisfying flavors, and that signature crunchy texture are etched into our culinary histories. It’s this potent blend of comfort, nostalgia, and pure deliciousness that has cemented Star Crunch Cookies as a beloved favorite for generations. They are uniquely satisfying, offering a delightful chew and a complex flavor profile that’s hard to replicate. Prepare to fall in love all over again!
Star Crunch Cookies
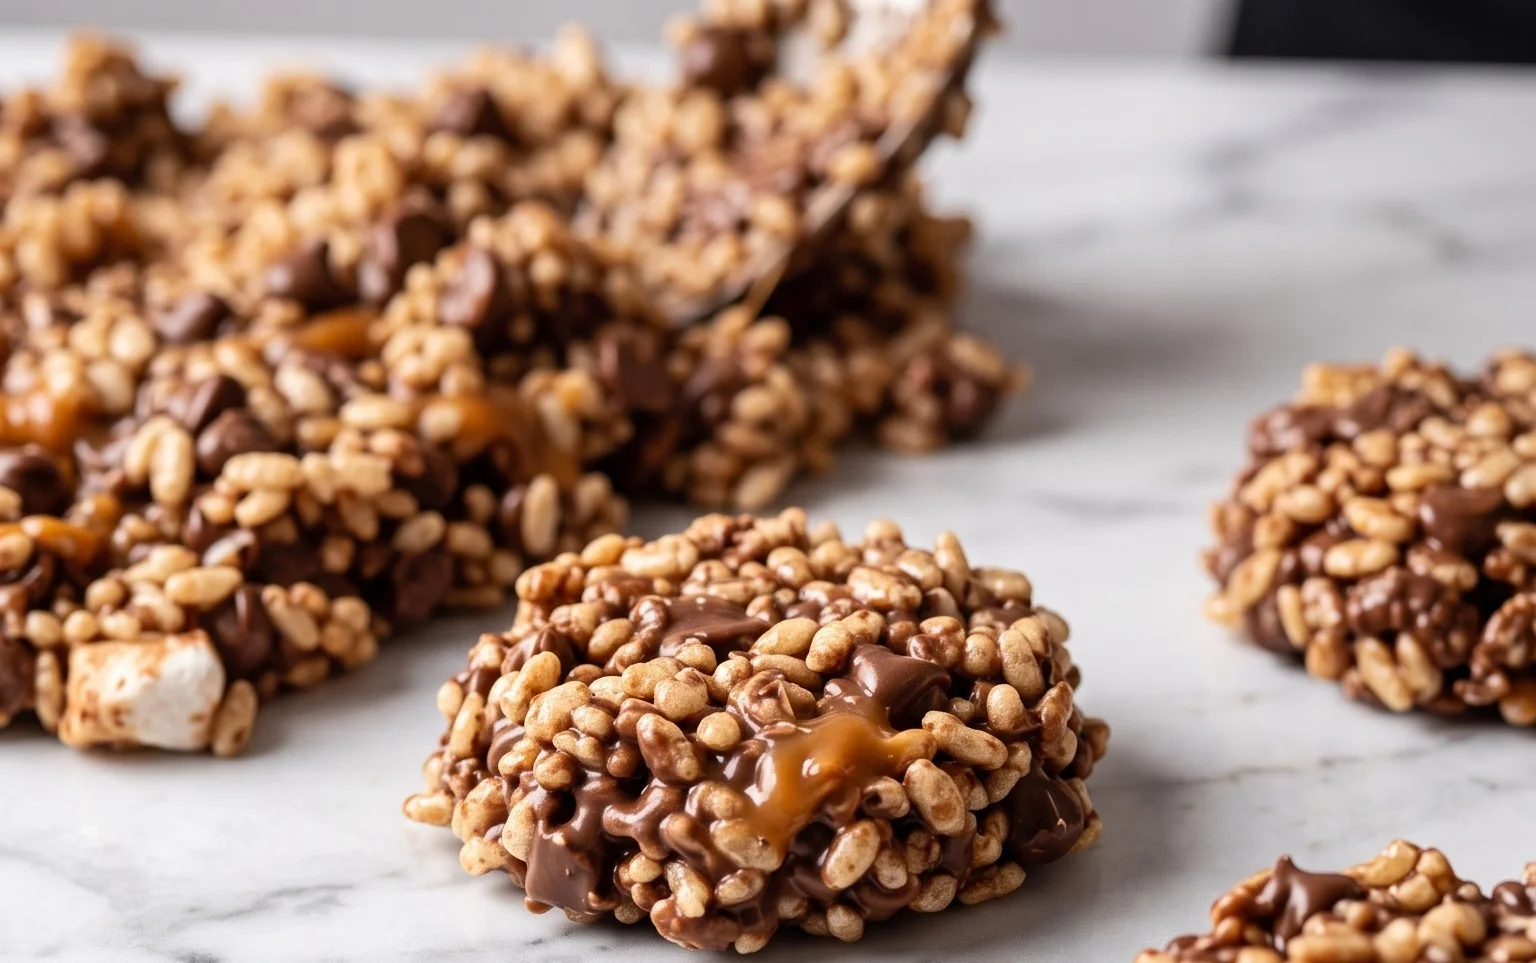
Remember those irresistible, no-bake treats from childhood that were crispy, chocolatey, and had that perfect chewy center? We’re talking about the legendary Star Crunch cookies! These delightful morsels are surprisingly simple to make at home, bringing a wave of nostalgia with every bite. Forget store-bought; this recipe will guide you through creating your own batch of homemade Star Crunch perfection that’s sure to become a family favorite. They are incredibly versatile, making them perfect for lunchboxes, afternoon snacks, or even a quick dessert.
Ingredients:
- 5 cups Crispy Rice Cereal (140g)
- 1 1/2 cups Chocolate Chips (255g)
- 1 cup Peanut Butter (can use any nut or seed butter, 250g)
- 1/4 cup coconut oil (55g)
- 1/2 cup maple syrup (160mL)
Making Your Star Crunch Cookies
This recipe is designed to be straightforward and rewarding. With just a few simple ingredients and minimal fuss, you’ll be enjoying these delicious cookies in no time. We’ll walk through each step, offering tips and explanations to ensure your success. Let’s get started!
Step 1: Preparing the Crispy Rice Cereal Base
The foundation of our Star Crunch cookies is the crispy rice cereal. You’ll want to measure out your 5 cups (approximately 140g). It’s important to have this ready in a large mixing bowl. Don’t worry about crushing or breaking the cereal; the individual pieces provide that signature crunch we all love. Having a large bowl is key here, as we’ll be adding other ingredients and need plenty of room to mix everything thoroughly without spillage. Once measured, set this aside.
Step 2: Creating the Binding Mixture
Now, let’s prepare the delicious binding mixture that will hold our cereal together and give the cookies their chewy, rich flavor. In a medium saucepan, combine your 1 cup of peanut butter (or your chosen nut/seed butter), 1/4 cup of coconut oil, and 1/2 cup of maple syrup. Place this saucepan over low heat. It’s crucial to use low heat to prevent the ingredients from scorching or burning. Stir the mixture gently and continuously as it heats up. You want the peanut butter and coconut oil to melt smoothly and incorporate fully with the maple syrup. This process should take about 3-5 minutes. The goal is a uniform, glossy liquid. Avoid bringing the mixture to a boil; gentle warming is all that’s needed to create a cohesive blend. Once it’s smooth and well-combined, remove it from the heat.
Step 3: Combining the Cereal and Binding Mixture
This is where the magic starts to happen. Carefully pour the warm peanut butter mixture over the 5 cups of crispy rice cereal in your large mixing bowl. Now, using a sturdy spatula or a wooden spoon, begin to gently fold the cereal into the liquid mixture. The key here is to coat every single piece of cereal as evenly as possible. Don’t be afraid to get in there and gently press down to ensure all the cereal is getting coated. It might seem like a lot of cereal for the amount of liquid, but keep mixing. As you continue to fold, the heat from the peanut butter mixture will slightly soften the cereal, making it more pliable and easier to combine without breaking it too much. Take your time with this step; thorough coating ensures that each cookie has that consistent texture and flavor.
Step 4: Adding the Chocolatey Goodness
Once the cereal is thoroughly coated, it’s time to add the chocolate chips. Gently fold in your 1 1/2 cups of chocolate chips. You want to distribute them evenly throughout the mixture. Some of the chips might start to melt slightly from the residual heat of the peanut butter mixture, which is perfectly fine and adds to the deliciousness. Be careful not to overmix at this stage, as you want to maintain some of the chip’s integrity so you get pockets of melty chocolate in your finished cookies. The contrast of the crunchy cereal, chewy peanut butter, and melty chocolate is what makes these cookies so special.
Step 5: Shaping and Setting the Cookies
Now for the final shaping! You have a couple of options here. You can use a cookie scoop to portion out the mixture, or you can simply use your hands. If using your hands, lightly dampen them with water or grease them with a little bit of coconut oil to prevent sticking. Take about 1/4 cup of the mixture at a time and gently roll it into a ball, or flatten it slightly into a cookie shape. Place the formed cookies onto a baking sheet lined with parchment paper. This step is important because it prevents the cookies from sticking to the pan and makes for easy cleanup. Once all your cookies are shaped, place the baking sheet in the refrigerator for at least 30 minutes. This chilling time is crucial for the cookies to firm up and hold their shape. You can also pop them in the freezer for about 15 minutes if you’re in a hurry.
Step 6: Enjoying Your Homemade Star Crunch Cookies!
Once chilled and firm, your Star Crunch cookies are ready to be devoured! You can store them in an airtight container in the refrigerator for up to a week. They are delicious served straight from the fridge, offering a satisfyingly firm yet chewy texture. These cookies are a testament to how simple ingredients can create something truly memorable and delicious. Enjoy the taste of nostalgia!
Conclusion:
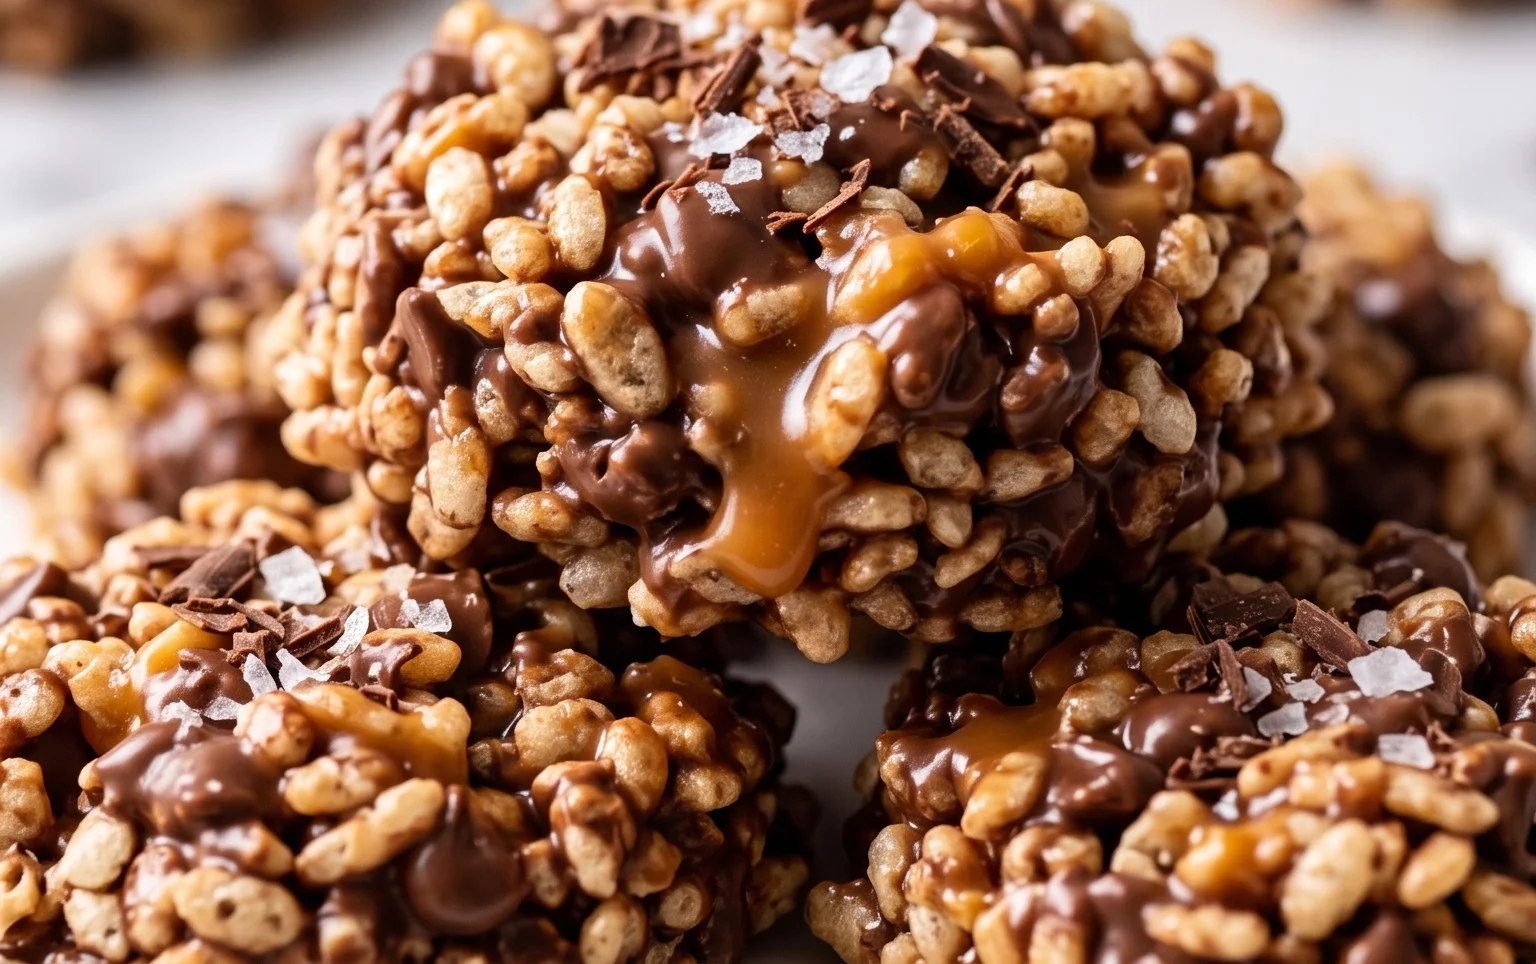
So there you have it – the ultimate guide to creating these delightful Star Crunch Cookies! I truly believe this recipe is fantastic because it delivers that perfect balance of chewy, chocolatey goodness with a hint of crunch, all wrapped up in a visually appealing star shape. They’re surprisingly easy to make, even for beginner bakers, and the joy of seeing those stars emerge from your oven is incredibly rewarding. These cookies are perfect for any occasion, from a casual afternoon treat to a star attraction at your next party. I love serving them with a cold glass of milk, but they also pair wonderfully with a hot cup of coffee or tea for a sophisticated dessert experience. Don’t be afraid to get creative with variations! Consider adding a sprinkle of sea salt on top before baking for a salty-sweet contrast, or perhaps swirl in some caramel for an extra layer of indulgence. You could even experiment with different colored sprinkles for a festive touch. I wholeheartedly encourage you to give this Star Crunch Cookie recipe a try. I’m confident you’ll fall in love with their charm and flavor just as much as I have!
Frequently Asked Questions:
Q: Can I make these Star Crunch Cookies ahead of time?
Absolutely! Star Crunch Cookies store wonderfully in an airtight container at room temperature for up to 3-4 days. They might even be even tastier on the second day as the flavors meld together.
Q: What’s the best way to ensure my cookies keep their star shape?
Make sure your dough is well-chilled before cutting out the stars. This helps the dough hold its shape during baking. If they spread a little, you can gently reshape them with a spatula immediately after they come out of the oven, while they’re still soft.
Star Crunch Cookies
No-bake Star Crunch Cookies inspired by the popular snack, featuring crispy rice cereal, chocolate, peanut butter, and maple syrup.
Ingredients
-
5 cups Crispy Rice Cereal (140g)
-
1 1/2 cups Chocolate Chips (255g)
-
1 cup Peanut Butter (250g)
-
1/4 cup coconut oil (55g)
-
1/2 cup maple syrup (160mL)
Instructions
-
Step 1
Line a baking sheet with parchment paper. -
Step 2
In a large bowl, combine the crispy rice cereal and chocolate chips. -
Step 3
In a small saucepan over low heat, melt the peanut butter, coconut oil, and maple syrup, stirring until smooth. -
Step 4
Pour the melted peanut butter mixture over the cereal and chocolate chips. Stir gently until everything is well coated. -
Step 5
Drop spoonfuls of the mixture onto the prepared baking sheet. -
Step 6
Chill in the refrigerator for at least 30 minutes, or until firm.
Important Information
Nutrition Facts (Per Serving)
It is important to consider this information as approximate and not to use it as definitive health advice.
Allergy Information
Please check ingredients for potential allergens and consult a health professional if in doubt.