Easy Grilled Chicken Wrap- Quick & Flavorful Meal
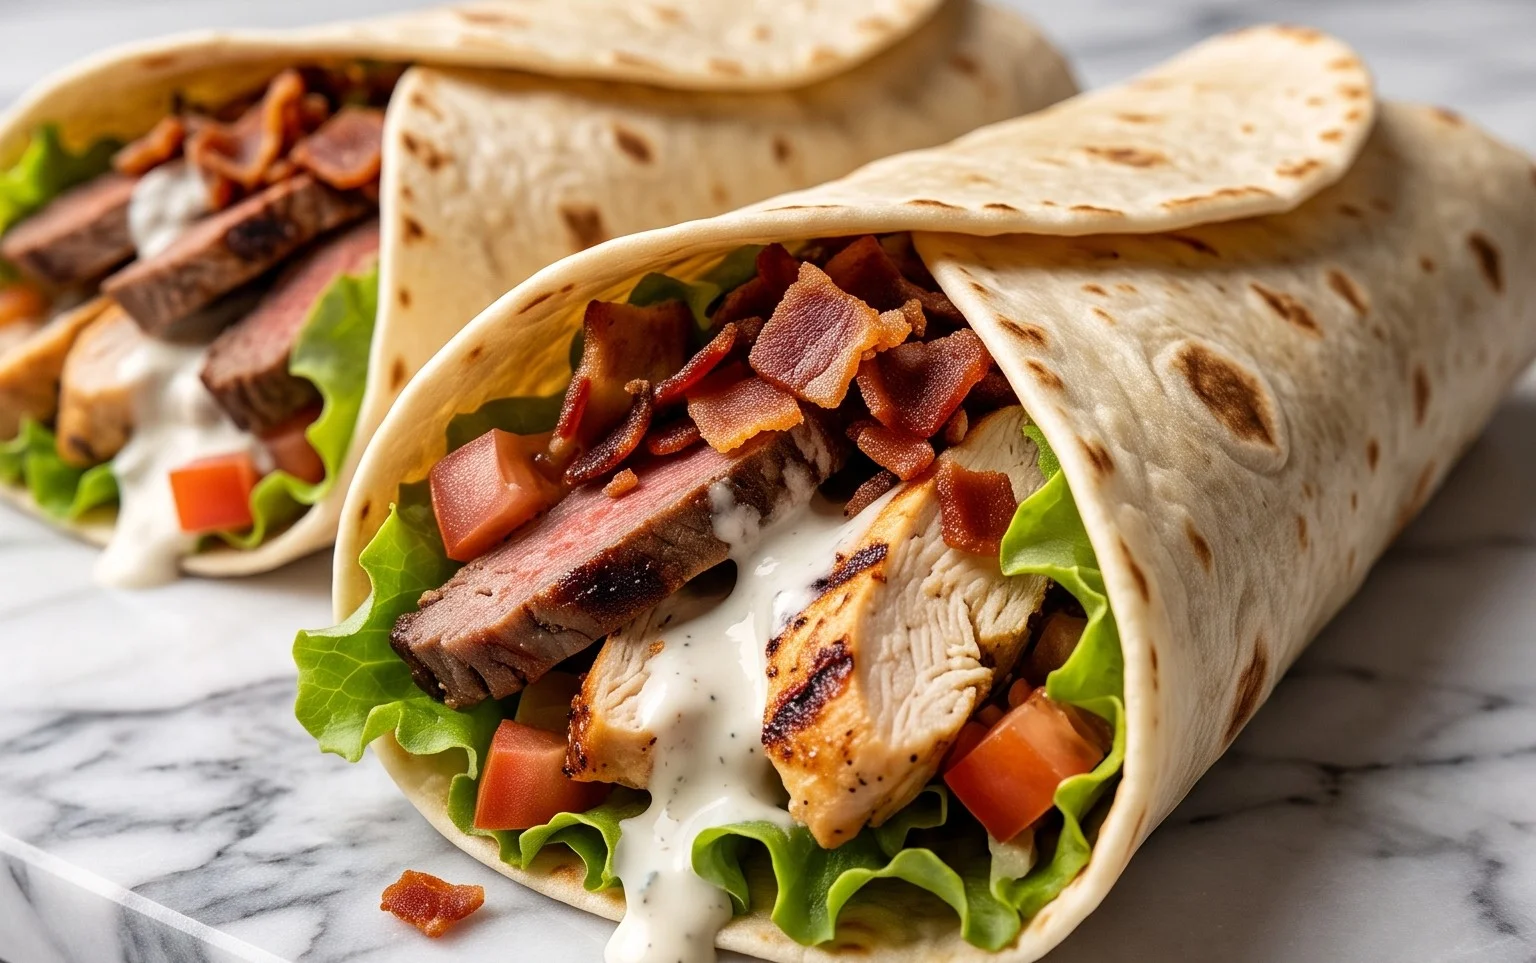
Grilled Chicken Wrap recipes are a weeknight warrior’s best friend, and for good reason! Imagine tender, perfectly seasoned chicken, kissed by the grill’s smoky embrace, then nestled into a soft tortilla with a symphony of fresh, vibrant fillings. It’s the ultimate blend of healthy and satisfying, a portable feast that’s both incredibly easy to make and ridiculously delicious to devour. People adore these wraps because they offer endless customization – you can load them up with your favorite veggies, a creamy sauce, or a zesty salsa. What truly sets a fantastic Grilled Chicken Wrap apart is the balance of textures and flavors: the slight char on the chicken, the crispness of the lettuce, the sweetness of roasted peppers, all brought together in a convenient, handheld package. It’s the kind of meal that feels like a treat but is secretly packed with goodness.
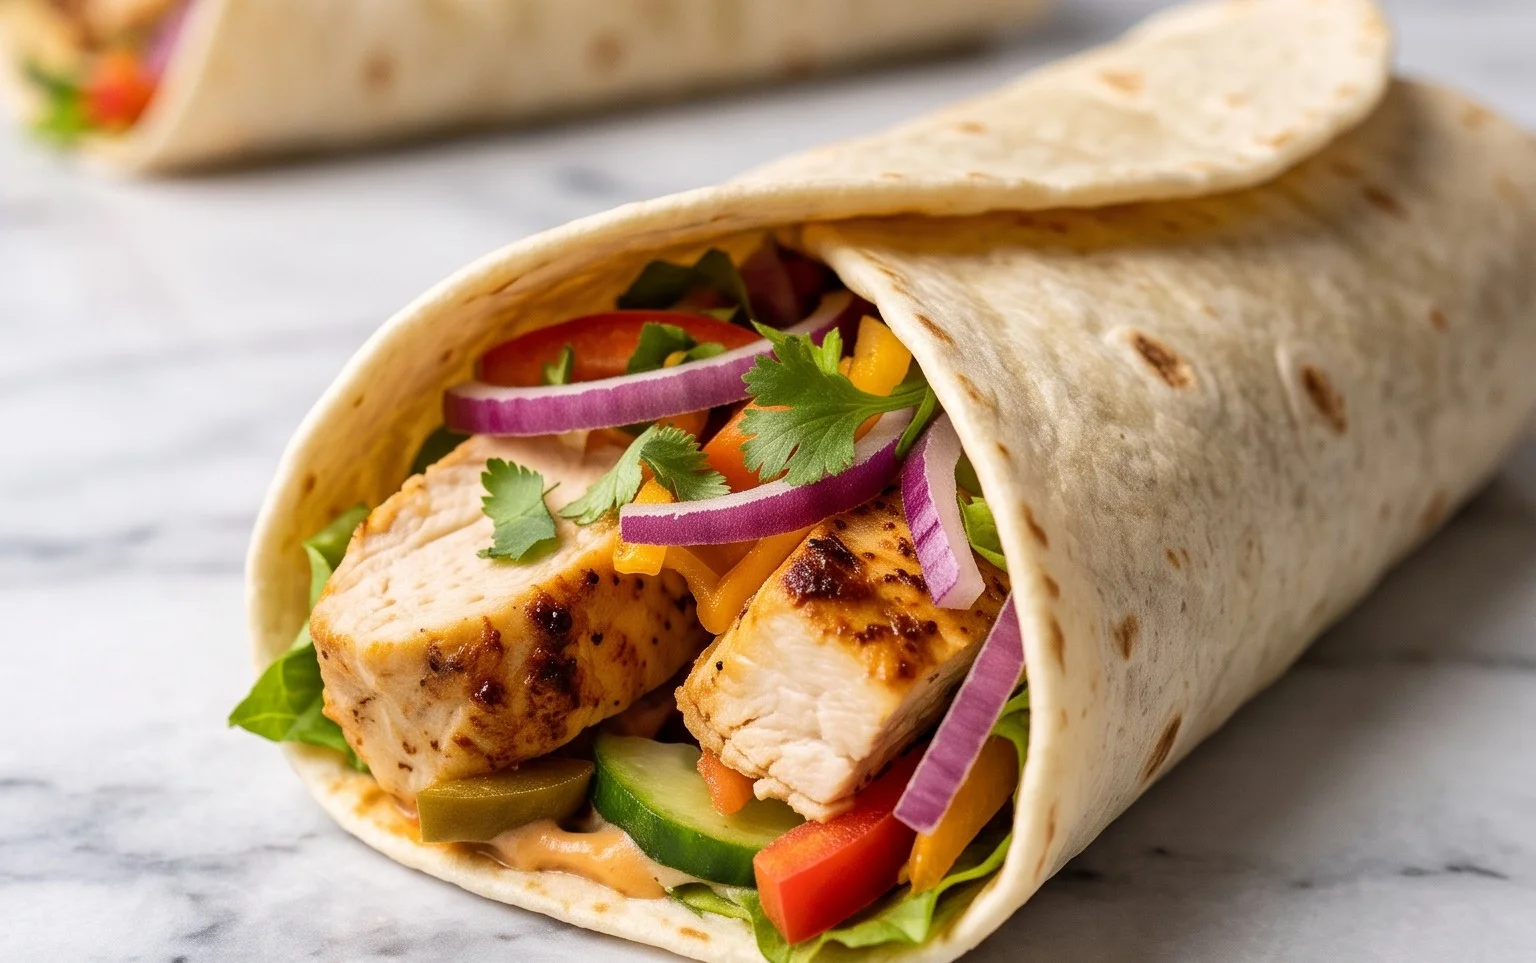
Grilled Chicken Wrap
Who doesn’t love a good wrap? They’re convenient, versatile, and incredibly satisfying. Today, we’re making a delicious and easy Grilled Chicken Wrap that’s perfect for a quick lunch, a light dinner, or even a portable meal on the go. The smoky, slightly spicy grilled chicken paired with cool, creamy ranch and melty cheese makes for a flavor combination that’s simply irresistible. This recipe is designed to be straightforward, so even if you’re new to grilling or cooking, you’ll be able to whip up these fantastic wraps with confidence. We’ll focus on getting that perfect char on the chicken and building a wrap that’s packed with flavor and texture.
Ingredients:
- 2 chicken breasts (boneless and skinless, sliced into cutlets, 650g in total)
- 1 teaspoon smoked paprika
- ¼ teaspoon chili powder
- ½ teaspoon garlic granules
- ½ teaspoon salt
- ⅛ teaspoon ground black pepper
- 1 tablespoon olive oil (if frying)
- 4 flour tortilla wraps
- 4 large iceberg lettuce leaves
- 1 cup cheddar or mozzarella cheese (shredded)
- ½ cup ranch dressing
Cooking Instructions:
The journey to your perfect chicken wrap begins with preparing the star of the show: the chicken. For this recipe, we’re using boneless, skinless chicken breasts. Slicing them into thinner cutlets ensures they cook quickly and evenly, allowing you to achieve that beautiful grill-marked exterior and tender, juicy interior without drying out.
1. Seasoning the Chicken
Start by preparing your chicken. You should have about 650g of chicken breasts, sliced into cutlets. In a small bowl, combine the smoked paprika, chili powder, garlic granules, salt, and ground black pepper. These spices are carefully chosen to impart a delightful smoky warmth and a hint of heat without being overpowering. The smoked paprika is key here, giving that characteristic smoky flavor that’s so wonderful on grilled chicken. Mix these dry ingredients thoroughly. Now, place your chicken cutlets in a shallow dish or a resealable bag. Sprinkle the spice mixture evenly over both sides of the chicken. Gently massage the spices into the chicken to ensure it’s fully coated. This step is crucial for maximizing flavor; don’t be shy with the seasoning! Let the chicken marinate for at least 15-20 minutes at room temperature, or up to a few hours in the refrigerator for a more intense flavor. If marinating in the fridge, remember to bring it back to room temperature for about 20 minutes before cooking.
2. Grilling the Chicken
Now for the grilling! Preheat your grill to medium-high heat. If you’re using a gas grill, this usually takes about 10-15 minutes. For a charcoal grill, let the coals burn until they’re covered in gray ash. Lightly oil your grill grates to prevent the chicken from sticking. This is a common pitfall, so a good oiling of the grates is essential for a clean release. Carefully place the seasoned chicken cutlets onto the hot grill. You should hear a satisfying sizzle as they make contact with the grates. Grill for approximately 4-6 minutes per side, depending on the thickness of your cutlets. The goal is to achieve beautiful grill marks and ensure the chicken is cooked through. You’ll know it’s done when the internal temperature reaches 165°F (74°C) or when the juices run clear when pierced with a fork. Avoid overcooking, as this can lead to dry chicken. Once cooked, remove the chicken from the grill and place it on a clean cutting board. Let it rest for 5 minutes. This resting period is vital; it allows the juices to redistribute throughout the chicken, ensuring every bite is moist and flavorful.
3. Preparing the Tortillas and Lettuce
While the chicken is resting, it’s time to prepare the other components of your wrap. Take your four flour tortilla wraps. To make them more pliable and easier to roll, you can gently warm them. You can do this by placing them on a dry skillet over medium heat for about 20-30 seconds per side, or by wrapping them in a damp paper towel and microwaving them for about 20-30 seconds. Be careful not to overheat them, as they can become brittle. For the lettuce, wash and thoroughly dry four large iceberg lettuce leaves. These will provide a refreshing crunch and a bit of bulk to your wraps. You can tear them to fit inside the wraps or leave them whole if they are a good size.
4. Assembling the Wraps
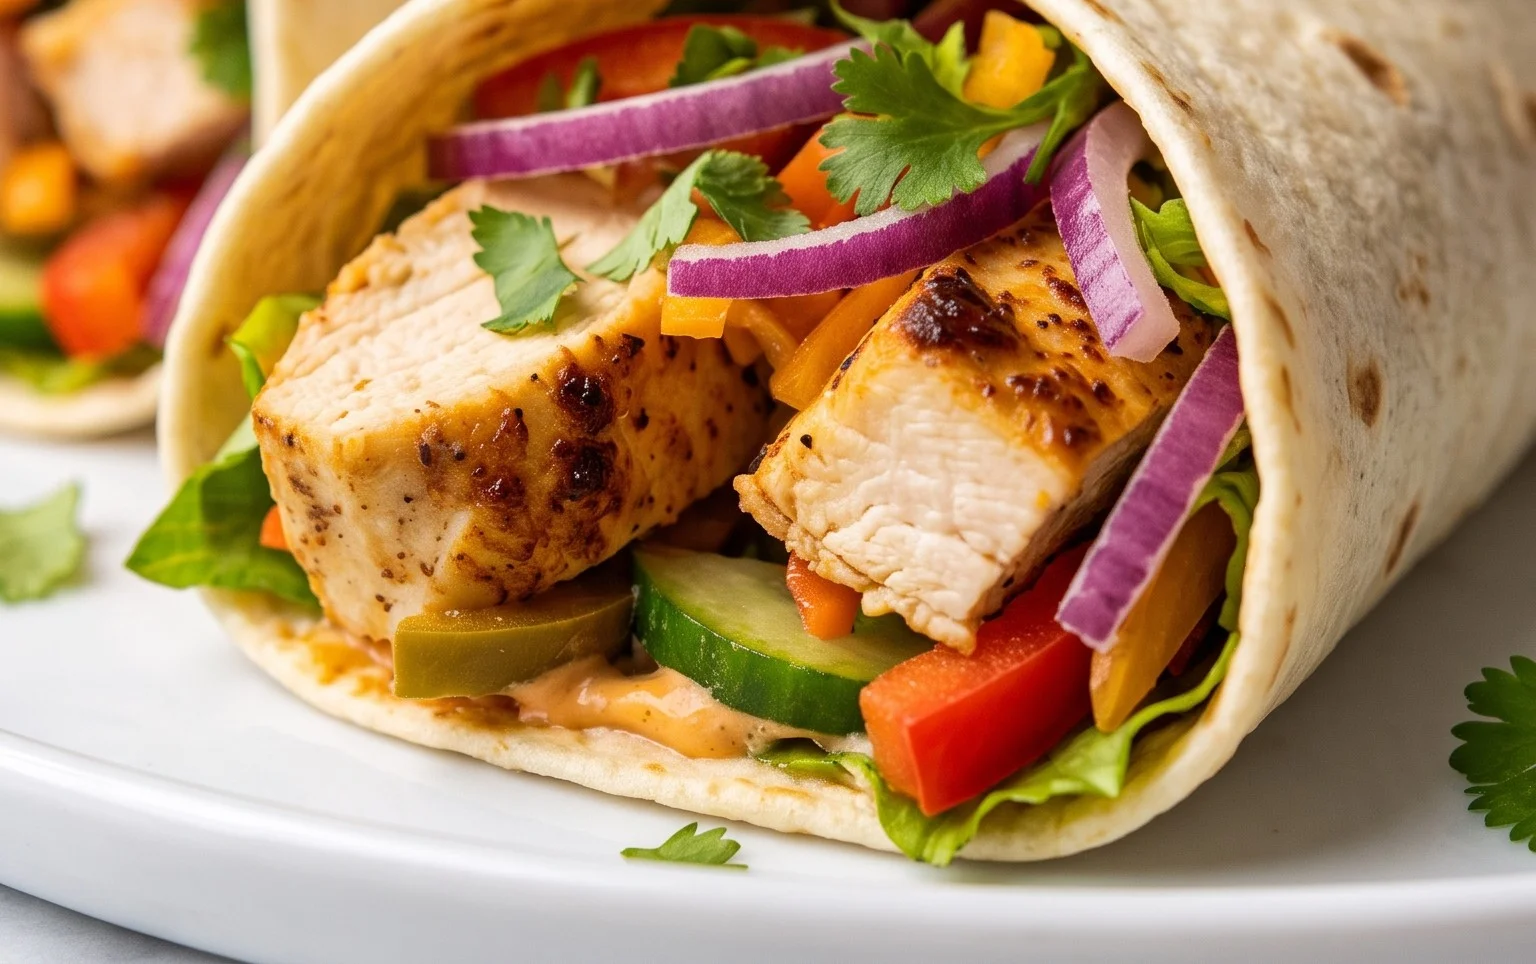
Now for the fun part: assembling your delicious wraps! Once the chicken has rested, you can either slice it into strips or dice it, whichever you prefer for your wrap. We find slicing into strips makes for a more substantial wrap. Lay one warmed tortilla flat on your work surface. Place a lettuce leaf in the center of the tortilla, slightly off to one side, leaving room for the other fillings. Top the lettuce with a generous portion of your sliced or diced grilled chicken. Don’t overfill, or it will be difficult to wrap. Next, sprinkle your shredded cheddar or mozzarella cheese over the chicken. The warmth of the chicken will start to melt the cheese, creating a wonderfully gooey texture. Drizzle a good amount of ranch dressing over the cheese and chicken. Adjust the amount to your liking, but a good coating will add creaminess and a delightful tangy flavor.
5. Rolling the Wraps
The final step is to neatly roll your wraps. Fold the sides of the tortilla inwards, over the filling. Then, starting from the edge closest to you, carefully and tightly roll the tortilla upwards, tucking the filling in as you go. Aim for a snug roll to keep everything contained. If you find your tortillas are a bit too soft and not holding their shape, you can briefly place the seam-side down on a warm skillet for about 30 seconds to help seal it. Once rolled, you can either enjoy them immediately or wrap them tightly in parchment paper or foil for easy transport. These wraps are fantastic when served fresh, but the flavors also meld nicely if you make them a little ahead of time. Enjoy your homemade grilled chicken wraps!
Conclusion:
So there you have it – your guide to creating the ultimate Grilled Chicken Wrap! This recipe truly shines because it’s incredibly versatile, packed with fresh flavors, and surprisingly quick to assemble, making it perfect for busy weeknights or a satisfying lunch. The smoky char from the grilled chicken, combined with crisp veggies and a creamy dressing, creates a symphony of textures and tastes that’s hard to beat. I love how easily you can customize it to your liking.
For serving, these wraps are fantastic on their own, or you can pair them with a side salad, some sweet potato fries, or even a cup of soup for a more substantial meal. Don’t be afraid to experiment with different types of tortillas – whole wheat, spinach, or even gluten-free options work wonderfully. Consider adding a sprinkle of cheese, some pickled onions, or even a dash of hot sauce for an extra kick. I highly encourage you to give this Grilled Chicken Wrap a try; you won’t be disappointed with the delicious results!
Frequently Asked Questions:
Can I prepare the chicken ahead of time?
Absolutely! You can grill or pan-sear the chicken a day or two in advance. Once cooled, store it in an airtight container in the refrigerator. Simply chop or shred it when you’re ready to assemble your wraps.
What are some healthy dressing alternatives?
For a lighter option, try a Greek yogurt-based dressing with herbs and lemon juice, a simple vinaigrette, or even a drizzle of your favorite salsa. Avocado can also be mashed and used as a creamy spread.
What other vegetables work well in this wrap?
The possibilities are endless! Bell peppers of any color, red onion, corn, shredded carrots, spinach, arugula, or even roasted sweet potatoes are all fantastic additions to your Grilled Chicken Wrap.
Grilled Chicken Wrap
A simple and delicious grilled chicken wrap filled with fresh ingredients and cheese.
Ingredients
-
2 chicken breasts (boneless and skinless, sliced into cutlets, 650g in total)
-
1 teaspoon smoked paprika
-
¼ teaspoon chili powder
-
½ teaspoon garlic granules
-
½ teaspoon salt
-
⅛ teaspoon ground black pepper
-
4 flour tortilla wraps
-
4 large iceberg lettuce leaves
-
1 cup cheddar or mozzarella cheese (shredded)
-
½ cup ranch dressing
Instructions
-
Step 1
Preheat your grill or grill pan to medium-high heat. -
Step 2
In a bowl, toss the chicken cutlets with smoked paprika, chili powder, garlic granules, salt, and black pepper until evenly coated. -
Step 3
Grill the seasoned chicken for 5-6 minutes per side, or until cooked through and no longer pink in the center. Let it rest for a few minutes, then slice. -
Step 4
Warm the flour tortillas slightly, if desired, according to package directions. -
Step 5
Assemble the wraps: Lay a lettuce leaf on each tortilla, top with sliced grilled chicken, shredded cheese, and a drizzle of ranch dressing. -
Step 6
Fold the sides of the tortilla in, then roll up tightly to create the wrap.
Important Information
Nutrition Facts (Per Serving)
It is important to consider this information as approximate and not to use it as definitive health advice.
Allergy Information
Please check ingredients for potential allergens and consult a health professional if in doubt.