Fudgy Brownie Cookies- Rich Chocolate & Chewy Delight
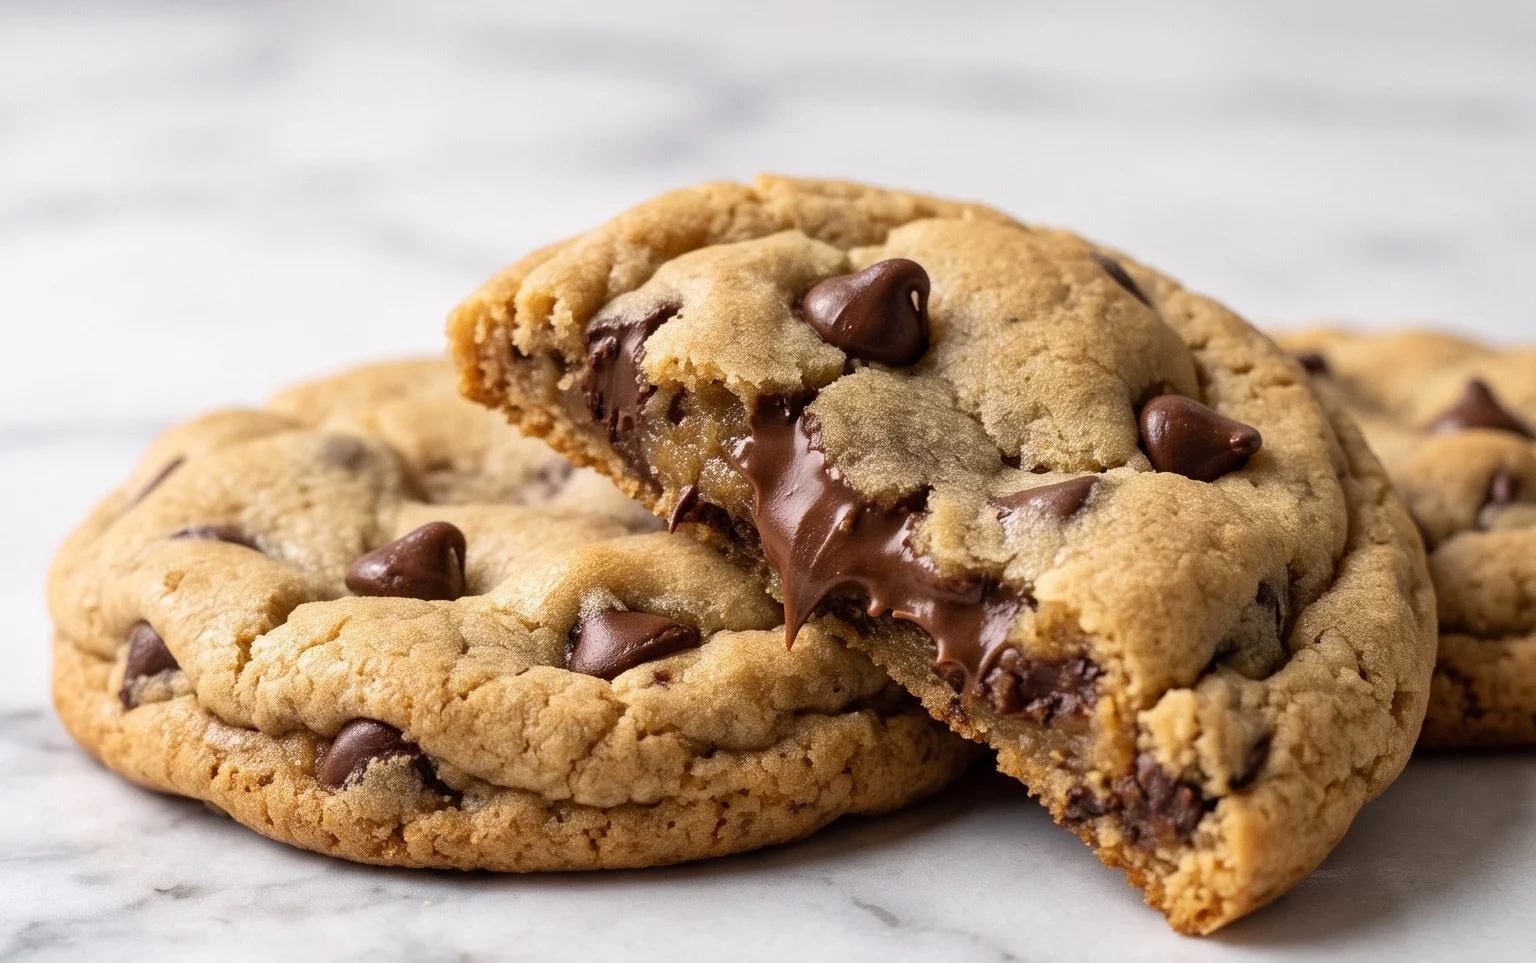
Brownie cookies are, quite simply, a revelation. If you’re anything like me, the mere mention of a perfectly fudgy brownie and a chewy, chocolate-chip cookie simultaneously can send shivers of anticipation down your spine. Why choose between two classic dessert titans when you can have the best of both worlds in one glorious bite? This is precisely the magic that makes brownie cookies so incredibly beloved. They capture that deep, intense chocolate flavor and rich, gooey texture of a classic brownie, but with the delightful chew and slightly crisp edges that only a cookie can offer. What makes them truly special is that they manage to be both sophisticated and incredibly comforting – the perfect treat for any occasion, whether you’re indulging solo or sharing with loved ones.
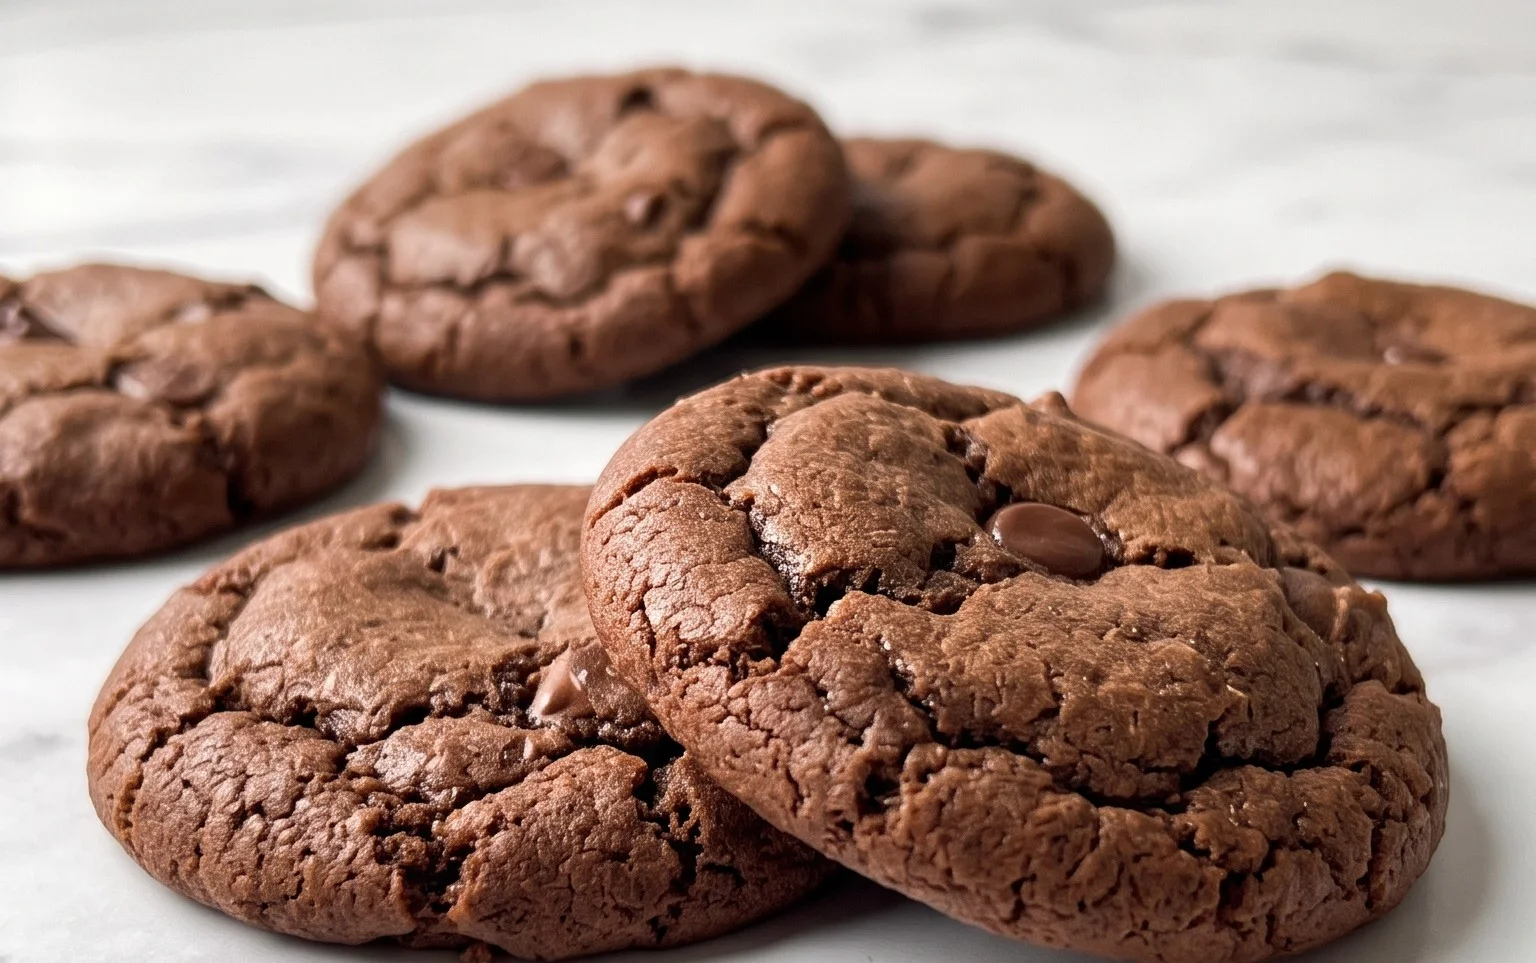
Brownie Cookies
Prepare to embark on a culinary adventure that bridges the gap between two beloved desserts: the rich, fudgy brownie and the delightfully chewy cookie. These Brownie Cookies are not just a treat; they are an experience. Imagine the intense chocolate flavor and gooey center of a brownie, all encapsulated within the satisfying bite of a perfectly baked cookie. They are incredibly easy to make, making them ideal for both seasoned bakers and those just starting out. The key to their success lies in a few simple techniques that ensure that signature brownie-like texture. So, preheat your ovens and let’s dive into creating these little pockets of chocolate heaven!
Ingredients:
- 6 tbsp (84 g) unsalted butter
- 8 oz (227 g) chopped, dark chocolate (60% cocoa)
- 1/2 cup (63 g) all-purpose flour (spooned and leveled)
- 1/4 cup (20 g) cocoa powder, Dutch process
- 1/4 tsp salt
- 1 tsp baking powder
- 1/2 cup (100 g) white granulated sugar
- 1/4 cup + 2 tbsp (83 g) packed, light brown sugar
- 2 eggs, at room temperature
- 1 tsp vanilla
- flaky sea salt for sprinkling
Cooking Instructions:
Step 1: Melting the Chocolate Foundation
The first and arguably most crucial step in creating these fudgy delights is to create a rich chocolate base. In a heatproof bowl set over a saucepan of simmering water (a double boiler method), combine the 6 tablespoons of unsalted butter and the 8 ounces of chopped dark chocolate. It’s important to use good quality dark chocolate with at least 60% cocoa content for the best flavor. Avoid chocolate chips here, as they often contain stabilizers that can affect the melting and texture. Stir the mixture gently and consistently until it’s completely smooth and melted. This process should be slow and steady to prevent the chocolate from scorching. Once melted, remove the bowl from the heat and let the chocolate mixture cool slightly for about 5-10 minutes. This cooling period is vital; if it’s too hot, it can scramble the eggs later.
Step 2: Creating the Chewy Cookie Dough
While the chocolate is cooling, let’s prepare the dry ingredients. In a medium bowl, whisk together the 1/2 cup of all-purpose flour, 1/4 cup of Dutch-process cocoa powder, 1/4 teaspoon of salt, and 1 teaspoon of baking powder. Sifting the cocoa powder can help prevent any clumps, ensuring a more uniform dough. Set this bowl aside. In a separate, larger bowl, cream together the 1/2 cup of granulated white sugar and the 1/4 cup plus 2 tablespoons of packed light brown sugar. Use an electric mixer on medium speed until the mixture is light and fluffy, which should take about 2-3 minutes. The brown sugar is essential for adding moisture and that characteristic chewy texture to our cookies.
Step 3: Incorporating the Wet Ingredients and Chocolate
Now, it’s time to bring everything together. Add the two room-temperature eggs, one at a time, to the sugar mixture, beating well after each addition until fully incorporated. If your eggs are cold, you can place them in a bowl of warm water for a few minutes to bring them to room temperature quickly. This helps them emulsify better with the sugar and butter. Stir in the 1 teaspoon of vanilla extract. Next, gradually add the slightly cooled melted chocolate mixture to the wet ingredients, mixing on low speed until just combined. Don’t overmix at this stage. The dough will be quite thick and glossy, reminiscent of brownie batter.
Step 4: Combining Wet and Dry Ingredients for the Perfect Texture
With the chocolate mixture fully incorporated, it’s time to add the dry ingredients. Gradually add the flour mixture to the wet ingredients, mixing on low speed until just combined. Again, the key here is to avoid overmixing. Overmixing can develop the gluten in the flour, leading to tougher cookies. You want to mix until you no longer see any streaks of dry flour. The dough will be very thick and fudgy, almost like a brownie batter that you can scoop. This is exactly what we want for that brownie-like interior. If you are concerned about overmixing, you can switch to a spatula and gently fold in the dry ingredients until just combined.
Step 5: Baking and Finishing Touches
Preheat your oven to 350°F (175°C). Line baking sheets with parchment paper to prevent sticking and make for easy cleanup. Using a cookie scoop or two spoons, drop rounded tablespoons of dough onto the prepared baking sheets, leaving about 2 inches of space between each cookie as they will spread slightly. For that signature brownie cookie look, you can gently press down on the tops of the dough balls with the back of a spoon or your fingers, creating a slightly flatter surface. This also helps them bake evenly. Sprinkle the tops of each cookie generously with flaky sea salt. The salt not only enhances the chocolate flavor but also provides a wonderful textural contrast to the soft cookie.
Bake for 10-12 minutes, or until the edges are set but the centers still look slightly underbaked. The cookies will continue to cook as they cool on the baking sheet. We are aiming for that desirable gooey brownie center, so don’t be tempted to overbake! Let the cookies cool on the baking sheets for about 5 minutes before transferring them to a wire rack to cool completely. This resting period is important for them to firm up properly. Once cooled, these Brownie Cookies are ready to be enjoyed. They are best served warm or at room temperature, and are a perfect accompaniment to a glass of milk or a cup of coffee. Store any leftovers in an airtight container at room temperature for up to 3 days.
Conclusion:
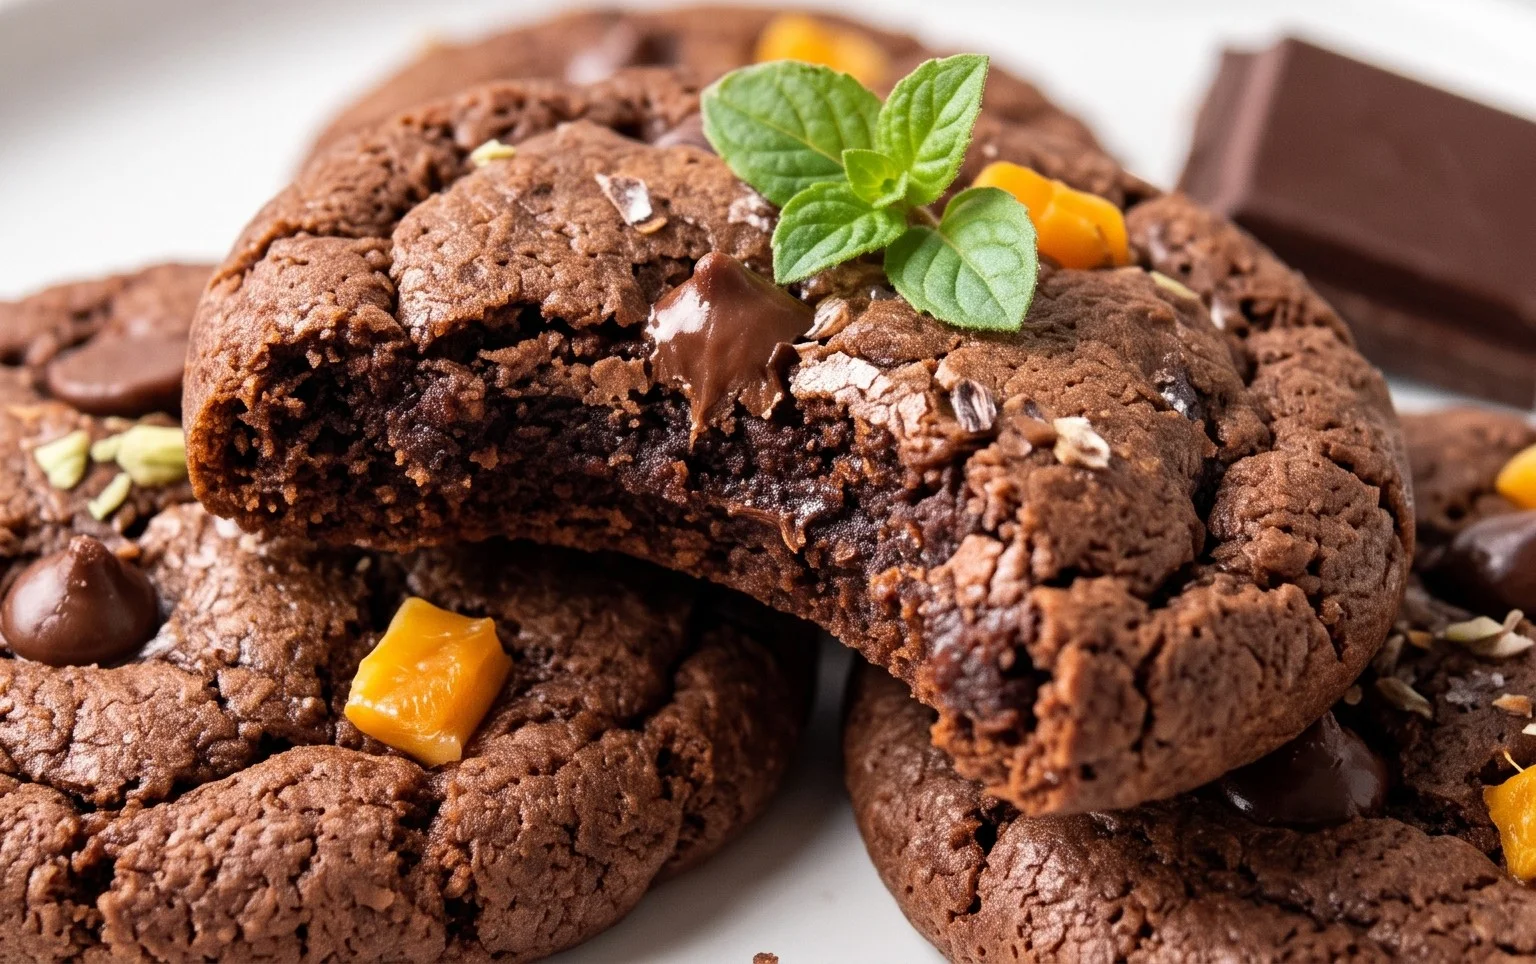
I hope you’ve enjoyed diving into this recipe for absolutely divine brownie cookies! These little gems perfectly capture the rich, fudgy essence of a brownie with the delightful chew and crisp edges of a cookie. They are truly the best of both worlds, making them an irresistible treat for any occasion. Whether you’re looking for a decadent dessert to share or a comforting snack for yourself, these brownie cookies are sure to impress.
Serve them warm, straight from the oven, with a glass of cold milk for a classic pairing. They also make a fantastic base for ice cream sandwiches, or can be drizzled with extra chocolate ganache for an even more indulgent experience. For variations, don’t be afraid to stir in chopped nuts like walnuts or pecans, a handful of chocolate chips (dark, milk, or white!), or even a pinch of espresso powder to intensify the chocolate flavor. The possibilities are endless, and I highly encourage you to give this brownie cookie recipe a try. Get ready for smiles all around!
Frequently Asked Questions:
Why are my brownie cookies not fudgy enough?
To achieve a fudgy texture, ensure you’re not overbaking them. They should look slightly underdone in the center when you take them out of the oven; they will continue to set as they cool. Using good quality chocolate and butter also contributes significantly to the fudgy quality.
Can I make these brownie cookies ahead of time?
Absolutely! These brownie cookies store very well. Once completely cooled, keep them in an airtight container at room temperature for up to 3-4 days. They often taste even better the next day as the flavors meld together.
Brownie Cookies
Decadent brownie cookies with a rich chocolate flavor, crisp edges, and a chewy center.
Ingredients
-
6 tbsp (84 g) unsalted butter
-
8 oz (227 g) chopped, dark chocolate (60% cocoa)
-
1/2 cup (63 g) all-purpose flour (spooned and leveled)
-
1/4 cup (20 g) cocoa powder, Dutch process
-
1/4 tsp salt
-
1 tsp baking powder
-
1/2 cup (100 g) white granulated sugar
-
1/4 cup + 2 tbsp (83 g) packed, light brown sugar
-
2 eggs, at room temperature
-
1 tsp vanilla
-
flaky sea salt for sprinkling
Instructions
-
Step 1
Melt the unsalted butter and chopped dark chocolate together in a heatproof bowl over a saucepan of simmering water, or in the microwave in 30-second intervals, stirring until smooth. Let cool slightly. -
Step 2
In a separate medium bowl, whisk together the all-purpose flour, Dutch process cocoa powder, salt, and baking powder. -
Step 3
In a large bowl, whisk together the white granulated sugar and packed light brown sugar. Beat in the eggs one at a time, then stir in the vanilla extract. -
Step 4
Pour the slightly cooled chocolate-butter mixture into the sugar mixture and whisk until combined. Gradually add the dry ingredients to the wet ingredients, mixing until just combined. Do not overmix. -
Step 5
Drop rounded tablespoons of dough onto a baking sheet lined with parchment paper, spacing them about 2 inches apart. Sprinkle the tops with flaky sea salt. -
Step 6
Bake in a preheated oven at 350°F (175°C) for 9-12 minutes, or until the edges are set and the centers are still slightly soft. -
Step 7
Let the cookies cool on the baking sheet for a few minutes before transferring them to a wire rack to cool completely.
Important Information
Nutrition Facts (Per Serving)
It is important to consider this information as approximate and not to use it as definitive health advice.
Allergy Information
Please check ingredients for potential allergens and consult a health professional if in doubt.