Unpoppable Bubble Recipe- DIY Magic Bubbles
How to Make DIY Magic Unpoppable Bubbles that will leave you and your little ones absolutely spellbound! Are you tired of the fleeting joy of regular bubbles that pop at the slightest touch? I know I was! There’s something incredibly magical about a bubble that defies gravity and the usual laws of physics, shimmering in the sunlight without a care. These aren’t just any bubbles; they’re the kind that linger, that you can gently touch, and that create an almost ethereal experience. The secret to these wonderous spheres lies in a simple, yet ingenious, recipe that’s surprisingly easy to whip up. Get ready to transform ordinary afternoons into extraordinary adventures with these DIY magic unpoppable bubbles that promise hours of giggles and awe!
Why You’ll Love Making These
The Secret to Extended Fun
Ingredients:
- Dish Soap (any brand will work, but some people find certain brands create more robust bubbles)
- Sugar (granulated white sugar is best)
- Water (tap water is fine)
Tools:
- Straw (a regular drinking straw is perfect)
- Clean Counter or Table
- A measuring cup or container for mixing
- A small bowl or shallow dish for dipping
How To Make DIY Magic Unpoppable Bubbles
Have you ever watched a bubble float away, only to pop before your eyes? It’s a classic childhood disappointment! Well, get ready to banish those fleeting moments of bubble joy, because we’re about to unlock the secret to making truly magical, incredibly resilient bubbles. These aren’t your average, everyday bubbles; these are the kind that can bounce, dance, and even withstand a gentle touch. It’s a simple science experiment that yields wonderfully fun results, perfect for a sunny afternoon in the garden or an indoor creative session. Forget store-bought bubble wands and solutions that leave you frustrated. With just a few common household items, you can create a bubble mixture that will have you and anyone around you mesmerized. We’re talking about bubbles that feel almost solid, defying gravity and expectation with their incredible durability.
The Science Behind the Strength
Before we dive into the making, let’s briefly touch upon why this recipe works so well. The key to these “unpoppable” bubbles lies in the sugar. When sugar is dissolved in water and mixed with dish soap, it changes the surface tension of the water. Think of the bubble film as a delicate skin made of soap molecules. Water alone would evaporate too quickly and break easily. Dish soap helps create a more stable film, but it’s the sugar that acts as a “plasticizer” for the bubble. It essentially makes the bubble film more flexible and less prone to drying out or being punctured. This increased flexibility is what allows the bubbles to withstand gentle impacts and remain intact for much longer periods. It’s a delightful demonstration of chemistry in action, turning everyday ingredients into something truly extraordinary.
Crafting Your Bubble Elixir
Now, let’s get down to business and create this magic potion. It’s a straightforward process, and the anticipation of seeing these powerful bubbles form is half the fun!
- Prepare Your Sugar Syrup: The first crucial step is to create a concentrated sugar syrup. In your measuring cup or container, combine one cup of water with one cup of sugar. Stir this mixture thoroughly. You want to ensure all the sugar crystals are completely dissolved. You can gently heat the water (not boiling, just warm) to help the sugar dissolve more quickly, but it’s not strictly necessary if you have a bit of patience. Once the sugar is fully dissolved, let the syrup cool down to room temperature. This cooling process is important to avoid affecting the other ingredients when you mix them later.
- Introduce the Dish Soap: Once your sugar syrup has cooled, it’s time to add the dish soap. Carefully pour one cup of dish soap into the cooled sugar syrup. Now, here’s a tip for maximum bubble power: stir this mixture *very gently*. Avoid vigorous stirring or shaking, as this will create a lot of foam and air bubbles in your solution, which can actually hinder the formation of strong, unpoppable bubbles. We want a smooth, homogenous mixture. The goal is to incorporate the dish soap without introducing excess air. Think of it as coaxing the ingredients together rather than forcing them. You should aim for a clear, slightly thickened liquid.
- Let the Mixture Mature: This might seem like an extra step, but it’s incredibly important for achieving the “unpoppable” quality. Once your ingredients are combined, cover your container and let the bubble solution rest for at least a few hours, or ideally, overnight. This resting period allows the ingredients to fully integrate and for any minor air bubbles that may have formed to dissipate. This maturation process is where the magic truly begins to happen, allowing the sugar to work its strengthening properties within the soap solution. The longer it sits, the more potent your bubble mixture will become.
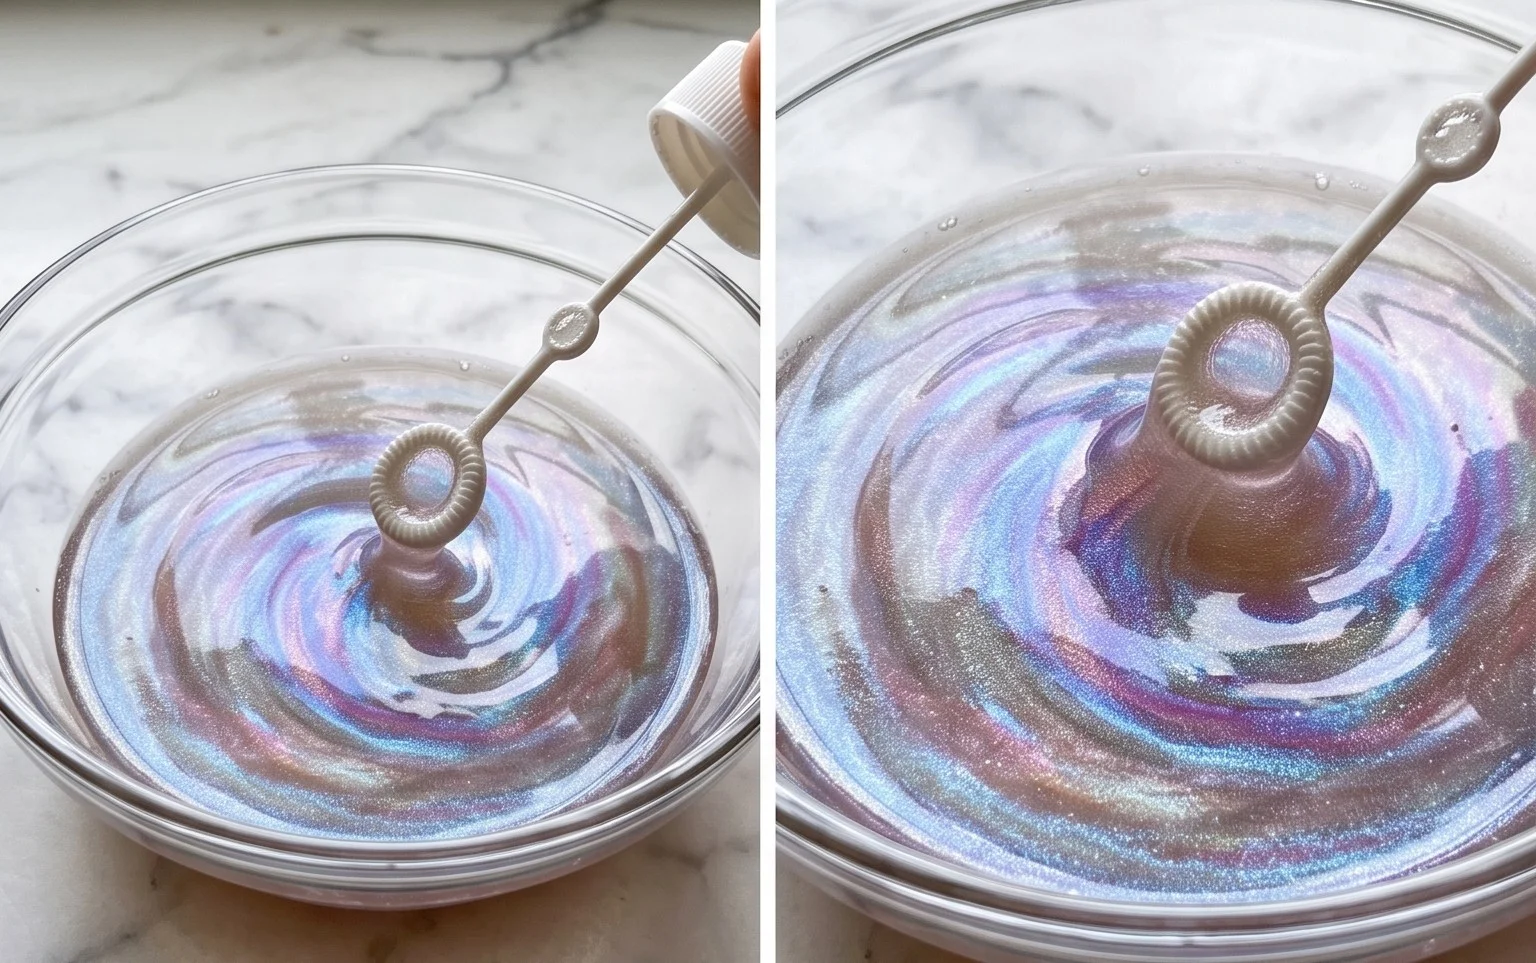
- The Dipping Technique: When you’re ready to make some extraordinary bubbles, pour a small amount of your matured bubble solution into a shallow dish or bowl. Dip your straw into the solution, ensuring the end of the straw is fully submerged. Gently lift the straw out of the solution, making sure you don’t drip too much excess liquid back into the bowl. You’ll notice a thin film of your magical bubble solution has formed across the opening of the straw.
- Blowing Your Unpoppable Bubbles: Now for the exciting part! Position the straw away from any strong breezes. Take a gentle, steady breath through the straw. You don’t need to blow hard; a soft, consistent puff of air is all that’s required. Watch as a shimmering, incredibly strong bubble begins to form. You’ll notice that these bubbles are thicker and more resilient than usual. You can try to gently touch them or even catch them on your hand to see their remarkable durability. Experiment with different blowing techniques – sometimes a slightly longer, more controlled exhale can create larger and even stronger bubbles. You can also try making bubbles by moving the straw in a circular motion while blowing gently.
Enjoy the wonder of your DIY magic unpoppable bubbles! They are perfect for outdoor play, science demonstrations, or simply a moment of pure, unadulterated fun. Experiment with different sizes and see how long you can keep them afloat!
Conclusion:
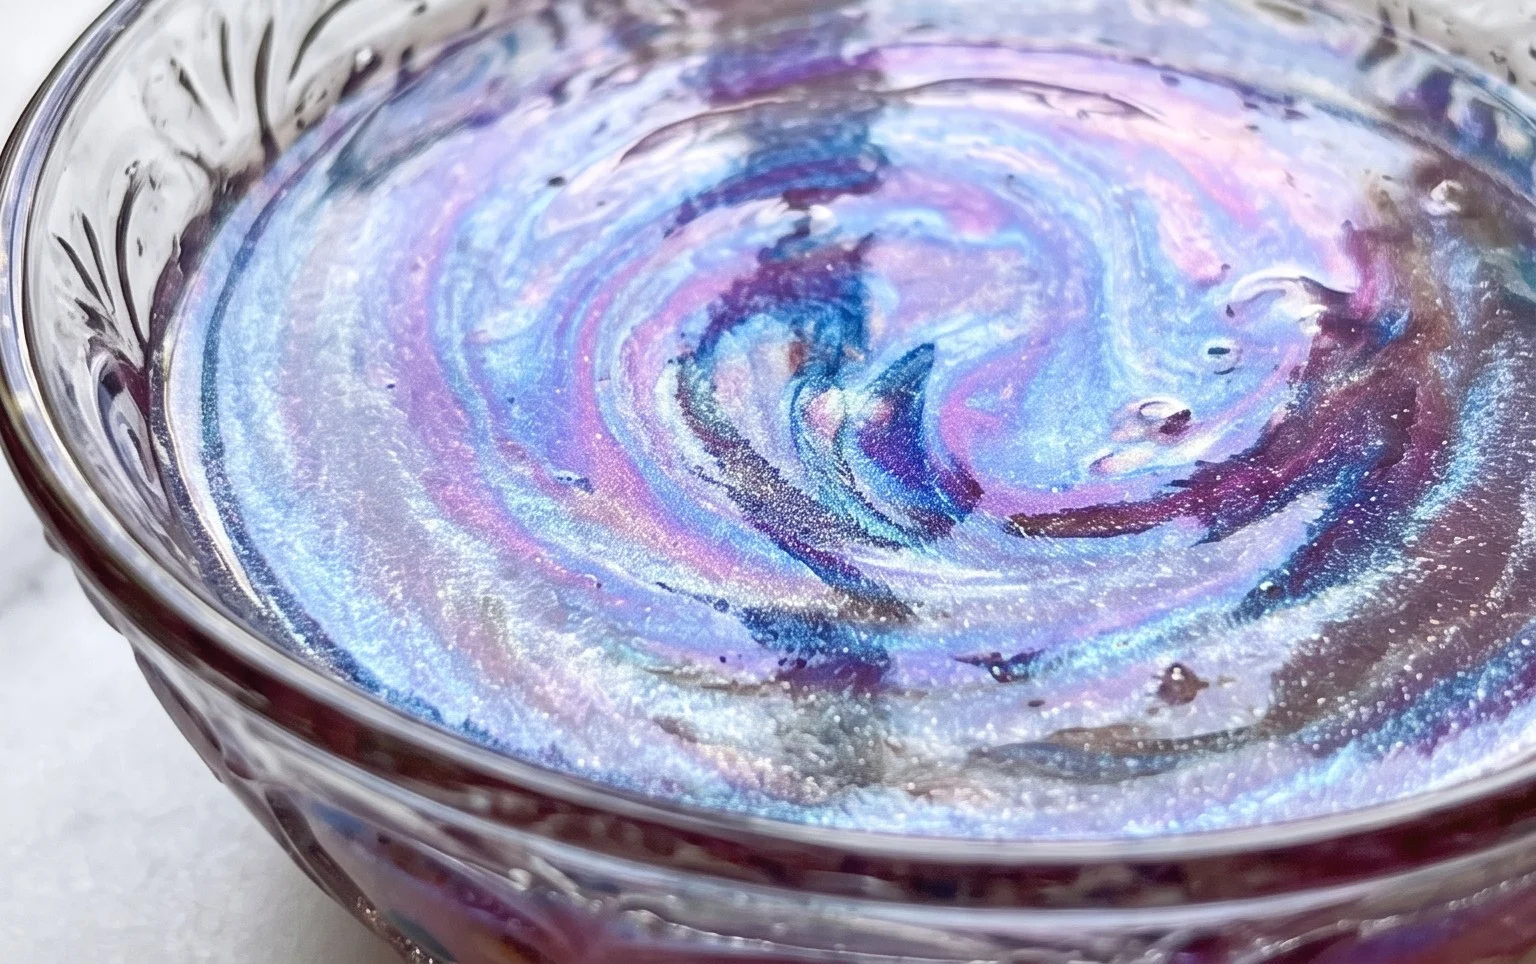
And there you have it! You’ve now unlocked the secret to creating DIY magic unpoppable bubbles that will bring joy and wonder to any occasion. This recipe is fantastic because it uses simple, readily available household ingredients, making it incredibly accessible and budget-friendly. Imagine the delight on children’s faces as these resilient bubbles float and dance, defying gravity and popping only when they’re ready. This isn’t just a fun craft; it’s an experience that fosters creativity and playful exploration.
These unpoppable bubbles are perfect for outdoor parties, backyard fun, or even as a unique party favor. You can also incorporate them into science experiments to explore surface tension and elasticity. For variations, try adding a tiny drop of food coloring to the mixture for vibrant, tinted bubbles, or experiment with different wand shapes for unique bubble forms. I highly encourage you to give this recipe a try. It’s a rewarding and incredibly fun project for all ages. Get ready to be amazed by the magic you can create!
Frequently Asked Questions:
Why are these bubbles “unpoppable”?
The magic lies in the unique mixture. The inclusion of ingredients like glycerin and corn syrup creates a stronger, more elastic bubble film compared to standard bubble solutions. This increased elasticity allows the bubbles to withstand gentle bumps and breezes without immediately popping, giving them their “unpoppable” quality.
Can I make these bubbles indoors?
Yes, you absolutely can! While they are wonderful outdoors, these DIY magic unpoppable bubbles can be enjoyed inside. Just be mindful of the surfaces where they might land, as the solution can leave a slight residue. It’s best to use them in an area that’s easy to clean.
My bubbles aren’t as strong as I expected. What could be wrong?
Several factors can affect bubble strength. Ensure you’re using the correct measurements of each ingredient, as precision is key. Allowing the solution to rest for a few hours, or even overnight, can also improve its performance by letting the ingredients fully meld. Additionally, the quality of your dish soap can play a role; a concentrated formula often yields better results.
DIY Magic Unpoppable Bubbles
Create incredibly durable, unpoppable bubbles with this simple DIY recipe using common household ingredients.
Ingredients
-
1 cup Dish Soap
-
2 tablespoons Sugar
-
1 cup Water
-
1/4 cup Corn Syrup (substitution for alcohol, to make bubbles stronger)
-
1/2 teaspoon Glycerin (optional, for extra elasticity)
Instructions
-
Step 1
In a clean container, gently mix 1 cup of Dish Soap and 1 cup of Water. Stir slowly to avoid creating too many initial bubbles. -
Step 2
Add 2 tablespoons of Sugar to the mixture. Continue stirring gently until the sugar is completely dissolved. -
Step 3
Pour in 1/4 cup of Corn Syrup. This ingredient is key to making the bubbles unpoppable, as it provides elasticity and strength. -
Step 4
If you have it, add 1/2 teaspoon of Glycerin for even more durable bubbles, though this is optional. -
Step 5
Gently stir the mixture one last time, ensuring all ingredients are incorporated. Let the solution rest for at least 1 hour, or preferably overnight, to allow it to thicken. -
Step 6
Dip a Straw into the bubble solution and gently blow to create your magic unpoppable bubbles on a clean counter or table.
Important Information
Nutrition Facts (Per Serving)
It is important to consider this information as approximate and not to use it as definitive health advice.
Allergy Information
Please check ingredients for potential allergens and consult a health professional if in doubt.