Crispy Country Fried Chicken-Best Southern Recipe
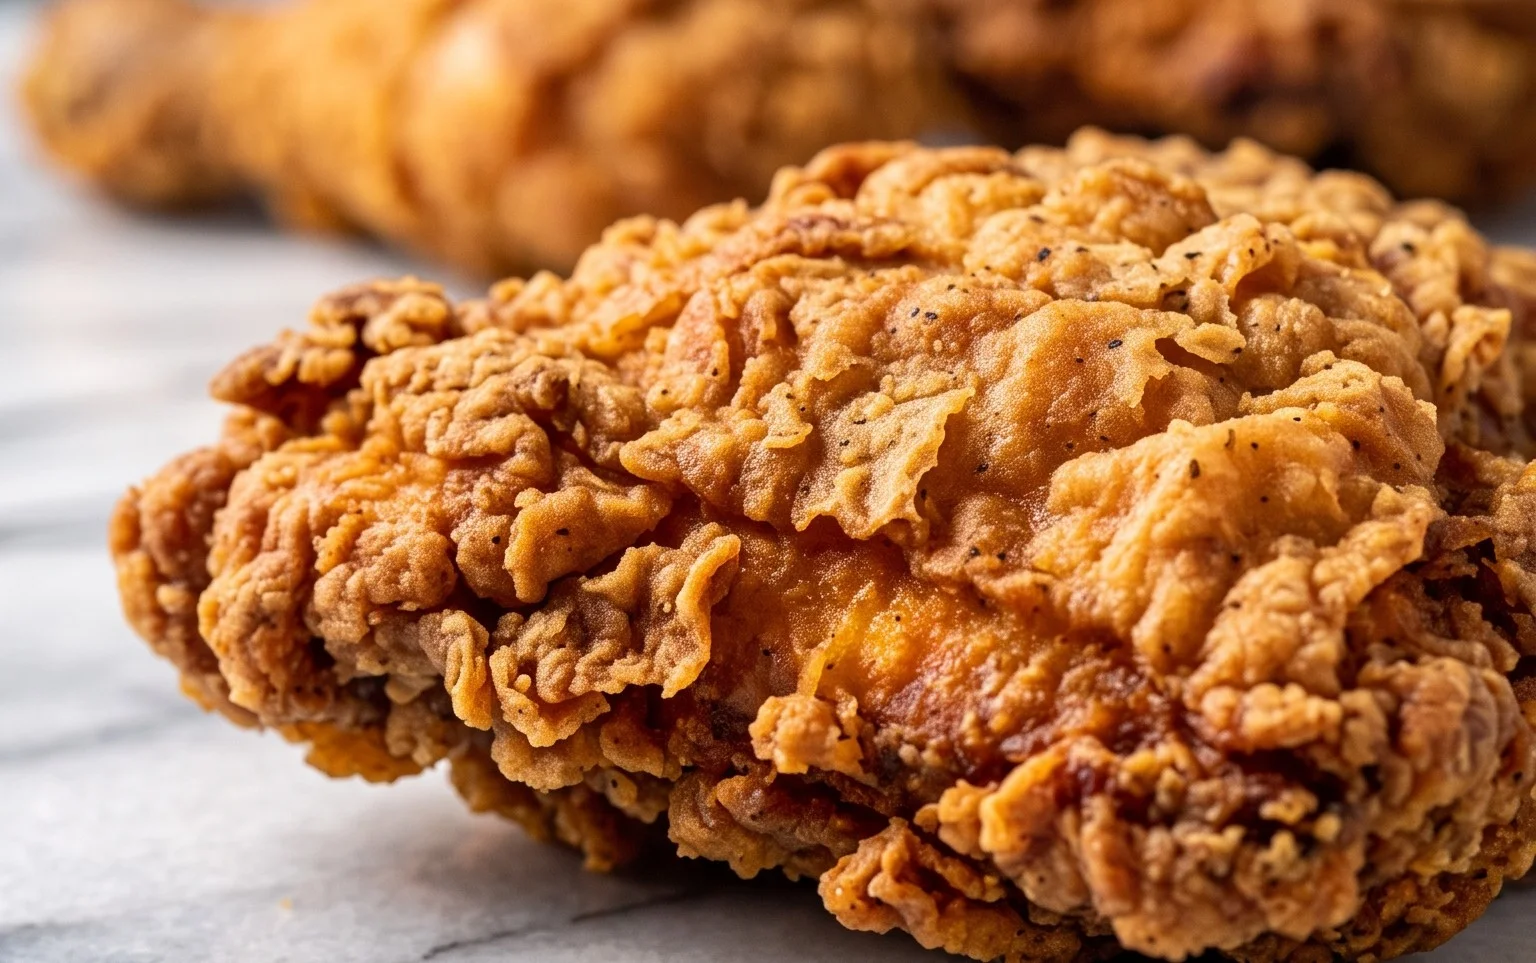
Country fried chicken is more than just a meal; it’s a warm hug on a plate, a taste of home that instantly transports you to simpler times. There’s a reason this iconic dish holds such a special place in our hearts and on our tables. The irresistible combination of a shatteringly crisp, golden-brown crust giving way to impossibly juicy, tender chicken within is pure culinary magic. What makes this particular take on country fried chicken so beloved? It’s the unpretentious, down-to-earth approach – simple seasonings that let the quality of the chicken shine, a perfectly seasoned flour dredge, and that crucial step of frying it just right to achieve that glorious, flaky texture. It’s the comfort food champion, perfect for Sunday dinners, family gatherings, or simply when you need a little bit of delicious joy. Let’s dive into creating some of the best country fried chicken you’ve ever tasted!
Country Fried Chicken
There’s something undeniably comforting about a plate piled high with perfectly golden-brown, crispy country fried chicken. It’s a dish that evokes memories of family dinners, Sunday gatherings, and the simple joy of truly satisfying food. While it might seem intimidating to achieve that restaurant-quality crispness at home, I promise you, it’s entirely within reach. The key lies in a few crucial steps, from the brining magic of buttermilk to the double-dredging technique that ensures every inch of that chicken is coated in a flavorful, crunchy shell. So, roll up your sleeves, and let’s get cooking!
Ingredients:
- 4 boneless skinless chicken breasts
- 1 ½ cups vegetable oil
- 2 cups buttermilk (see notes for substitutions)
- 2 large eggs (whisked)
- 3 teaspoons salt
- 1 ½ cup all-purpose flour
- ½ cup breadcrumbs (plain or Italian)
- 2 ½ teaspoons seasoned salt
- ¾ teaspoon paprika
- ½ teaspoon cayenne pepper
- 1 ½ teaspoon black pepper
Preparing the Chicken
The first step to incredibly tender and flavorful country fried chicken is to get our chicken ready. Start by trimming any excess fat from your chicken breasts. Then, you’ll want to cut each chicken breast in half horizontally to create thinner cutlets. This not only helps them cook more evenly and quickly but also provides more surface area for that delicious crispy coating to adhere to. Place the chicken pieces in a shallow dish or a large zip-top bag.
The Buttermilk Brine
This is where the magic really begins. In a bowl or directly in the bag with your chicken, pour the 2 cups of buttermilk. This tangy dairy product does wonders for chicken. The acidity in the buttermilk helps to tenderize the meat, making it incredibly juicy and succulent. It also adds a subtle, pleasant flavor that permeates the chicken. Add 1 teaspoon of the regular salt to the buttermilk and give it a good stir to combine. Make sure each piece of chicken is fully submerged in the buttermilk mixture. Cover the dish or seal the bag and refrigerate for at least 30 minutes, or ideally, for 2 to 4 hours. If you’re short on time, even 30 minutes will make a noticeable difference. For a deeper flavor and maximum tenderness, you can even let it brine overnight. If you don’t have buttermilk, you can create a substitute by mixing 2 cups of milk with 2 tablespoons of white vinegar or lemon juice and letting it sit for 5-10 minutes until it thickens slightly.
The Flavorful Dredging Station
While your chicken is happily brining, it’s time to set up our dredging station. This is where we’ll create that irresistible crunchy coating. In a large shallow dish or a pie plate, combine the 1 ½ cups of all-purpose flour, ½ cup of breadcrumbs, 2 ½ teaspoons of seasoned salt, ¾ teaspoon of paprika, ½ teaspoon of cayenne pepper, and 1 ½ teaspoons of black pepper. Whisk these dry ingredients together thoroughly to ensure all the seasonings are evenly distributed. The breadcrumbs contribute to the overall crispiness, while the paprika and cayenne add a beautiful color and a gentle warmth. For a spicier kick, feel free to increase the cayenne pepper.
Next, in a separate shallow dish, whisk together the 2 large eggs with the remaining 2 teaspoons of regular salt. This egg wash will act as a binder, helping the flour mixture to stick to the chicken.
Coating the Chicken for Maximum Crisp
Now for the crucial coating process. Remove the chicken from the buttermilk brine, letting any excess drip off. Do not rinse the chicken; the buttermilk residue is good! Dredge each piece of chicken generously in the flour mixture, pressing lightly to ensure it’s well-coated on all sides. Shake off any excess flour. Now, dip the flour-coated chicken into the whisked egg mixture, letting the excess drip off. Immediately return the chicken to the flour mixture for a second coating. This double-dredging is the secret to an extra-crispy crust. Press the flour mixture onto the chicken again, ensuring a thick, even coating. Place the coated chicken pieces on a wire rack set over a baking sheet. This allows air to circulate, preventing the coating from becoming soggy and helping it to dry slightly, which further enhances crispiness. Let the coated chicken rest for about 10-15 minutes before frying. This resting period allows the coating to adhere better to the chicken.
Frying to Golden Perfection
It’s time to fry! In a large, heavy-bottomed skillet, heat 1 ½ cups of vegetable oil over medium-high heat. You want the oil to be hot but not smoking – a good temperature is around 350°F (175°C). You can test the oil by dropping a tiny bit of the flour mixture into it. If it sizzles immediately and floats to the surface, it’s ready. Carefully place a few pieces of chicken into the hot oil, being careful not to overcrowd the skillet. Overcrowding will lower the oil temperature, resulting in greasy chicken rather than crispy chicken. Fry the chicken for about 6-8 minutes per side, or until it’s golden brown and cooked through. The internal temperature should reach 165°F (74°C). Use a meat thermometer to be sure. Once cooked, remove the chicken from the skillet and place it on a clean wire rack set over a baking sheet to drain any excess oil. Repeat the frying process with the remaining chicken pieces.
Serve your delicious country fried chicken hot and enjoy the fruits of your labor! This dish is fantastic served with mashed potatoes, gravy, and your favorite vegetable.
Conclusion:
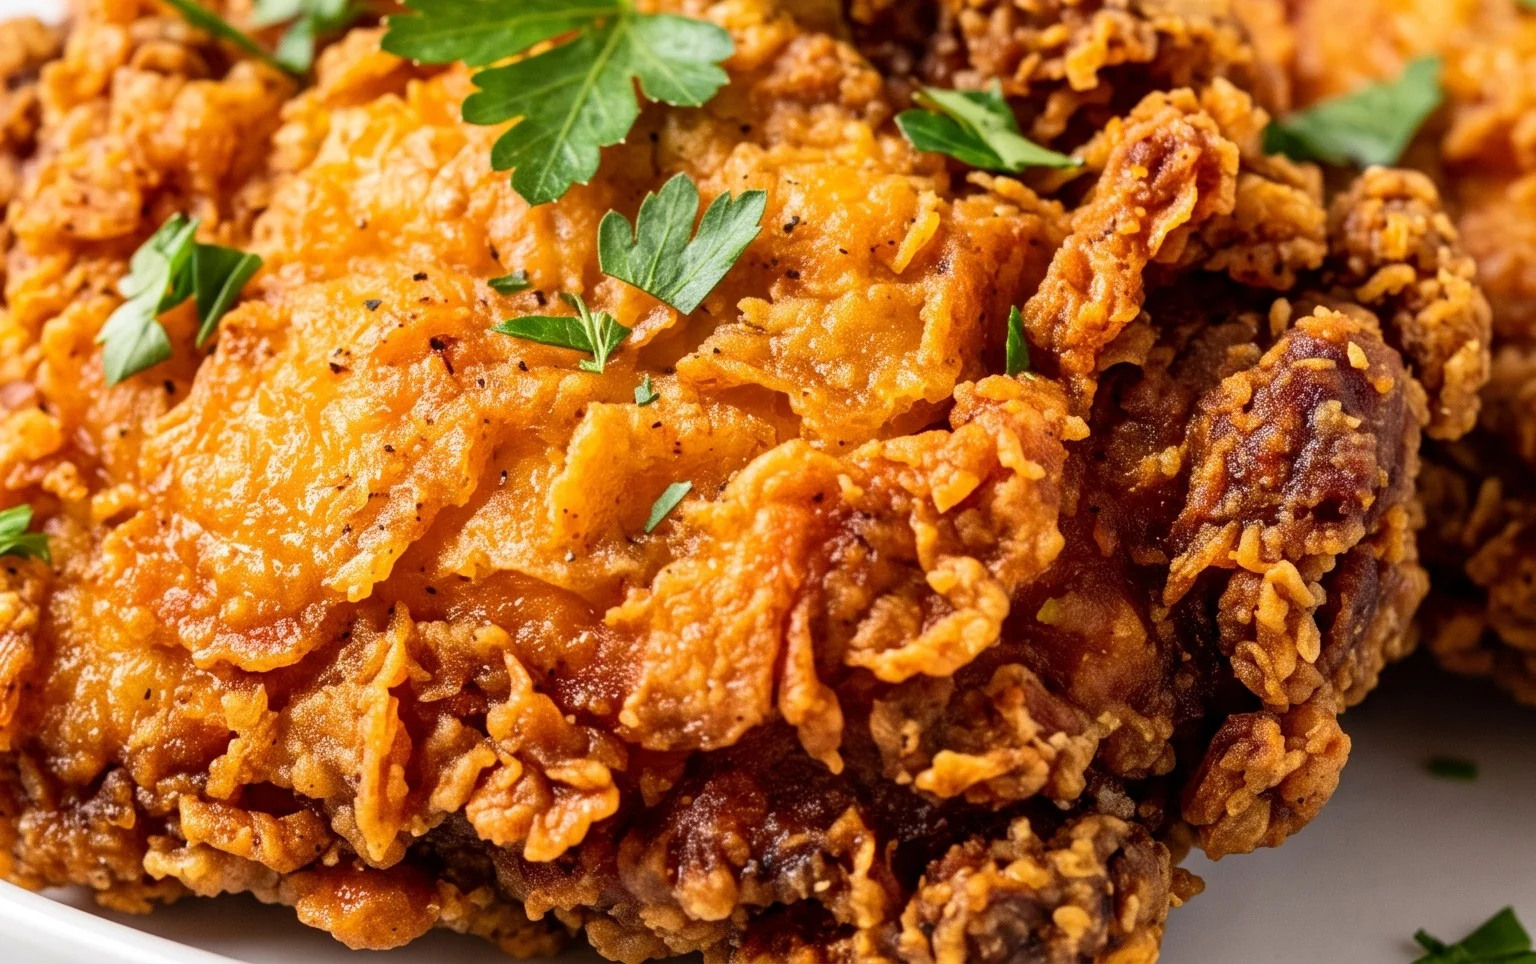
There you have it – your guide to achieving truly exceptional country fried chicken! This recipe is a guaranteed crowd-pleaser, delivering that irresistible crispy exterior and juicy, tender interior that defines Southern comfort food. The simple yet effective dredge and the careful frying technique ensure perfect results every time. I truly believe this is the best country fried chicken you’ll ever make right in your own kitchen. Serve it piping hot alongside creamy mashed potatoes, a generous dollop of gravy, and a crisp, refreshing coleslaw for the ultimate classic meal. Don’t be afraid to experiment with different spice blends in your flour mixture to put your own unique spin on it. Perhaps a hint of smoked paprika or a touch of cayenne for a little kick? This recipe is a fantastic foundation for your culinary adventures. I encourage you to give it a try – you won’t be disappointed by the delicious outcome!
Frequently Asked Questions:
Can I bake this country fried chicken instead of frying it?
While traditional frying yields the signature crispy texture, you can achieve a decent result by baking. Place the coated chicken on a wire rack set over a baking sheet. Bake at 400°F (200°C) for about 30-40 minutes, flipping halfway through, until golden brown and cooked through. It won’t be quite as crunchy as fried, but it’s a lighter option.
What kind of oil is best for frying?
A neutral-flavored oil with a high smoke point is ideal. Canola oil, vegetable oil, or peanut oil are excellent choices. You want an oil that can withstand the heat of frying without burning, which can impart an unpleasant taste.
How do I ensure my chicken is cooked through without burning the coating?
The key is to maintain a consistent oil temperature, typically between 325°F and 350°F (160°C to 175°C). Don’t overcrowd the pan, as this will lower the oil temperature and lead to greasy chicken. Fry in batches if necessary. Using a meat thermometer to check the internal temperature (165°F or 74°C in the thickest part) is also a foolproof method.
Country Fried Chicken
Classic crispy and flavorful country fried chicken, perfect for a comforting meal.
Ingredients
-
4 boneless skinless chicken breasts
-
1 ½ cups vegetable oil
-
2 cups buttermilk
-
2 large eggs, whisked
-
3 teaspoons salt
-
1 ½ cup all-purpose flour
-
½ cup breadcrumbs
-
2 ½ teaspoons seasoned salt
-
¾ teaspoon paprika
-
½ teaspoon cayenne pepper
-
1 ½ teaspoon black pepper
Instructions
-
Step 1
Cut chicken breasts into 1-inch pieces. -
Step 2
In a bowl, combine buttermilk and whisked eggs. Add chicken pieces and marinate for at least 15 minutes. -
Step 3
In a shallow dish, combine flour, breadcrumbs, seasoned salt, paprika, cayenne pepper, black pepper, and 1 ½ teaspoons of the salt. Mix well. -
Step 4
Remove chicken from buttermilk mixture, letting excess drip off. Dredge chicken pieces in the flour mixture, ensuring they are well coated. Press to adhere. -
Step 5
Heat vegetable oil in a large skillet over medium-high heat to about 350°F (175°C). Add chicken in a single layer, being careful not to overcrowd the pan. -
Step 6
Fry chicken for 4-5 minutes per side, until golden brown and cooked through. Add the remaining 1 ½ teaspoons of salt to the oil during cooking, if desired for extra crispiness. -
Step 7
Remove chicken from skillet and drain on paper towels. Serve hot.
Important Information
Nutrition Facts (Per Serving)
It is important to consider this information as approximate and not to use it as definitive health advice.
Allergy Information
Please check ingredients for potential allergens and consult a health professional if in doubt.