Crispy Homemade Vanilla Wafers – Perfect Pudding Base & Snack
Vanilla wafers are more than just a simple cookie; they’re a delightful whisper of nostalgia, a cornerstone of comfort food, and an unsung hero in so many kitchens. Have you ever found yourself reaching for that familiar yellow tin, a simple craving that promises a moment of pure, unadulterated sweetness? There’s a reason why these delicate, crisp cookies hold such a special place in our hearts. Their subtle yet distinct vanilla flavor, coupled with their satisfying crunch, makes them incredibly versatile. Whether enjoyed on their own, dunked in milk, or forming the base of a decadent dessert, vanilla wafers possess a magical ability to elevate any culinary creation. What truly sets these humble treats apart is their elegant simplicity. They don’t shout for attention; instead, they offer a gentle, reliable sweetness that pairs beautifully with almost anything. Get ready to rediscover the simple joy of these classic vanilla wafers!
Vanilla Wafers
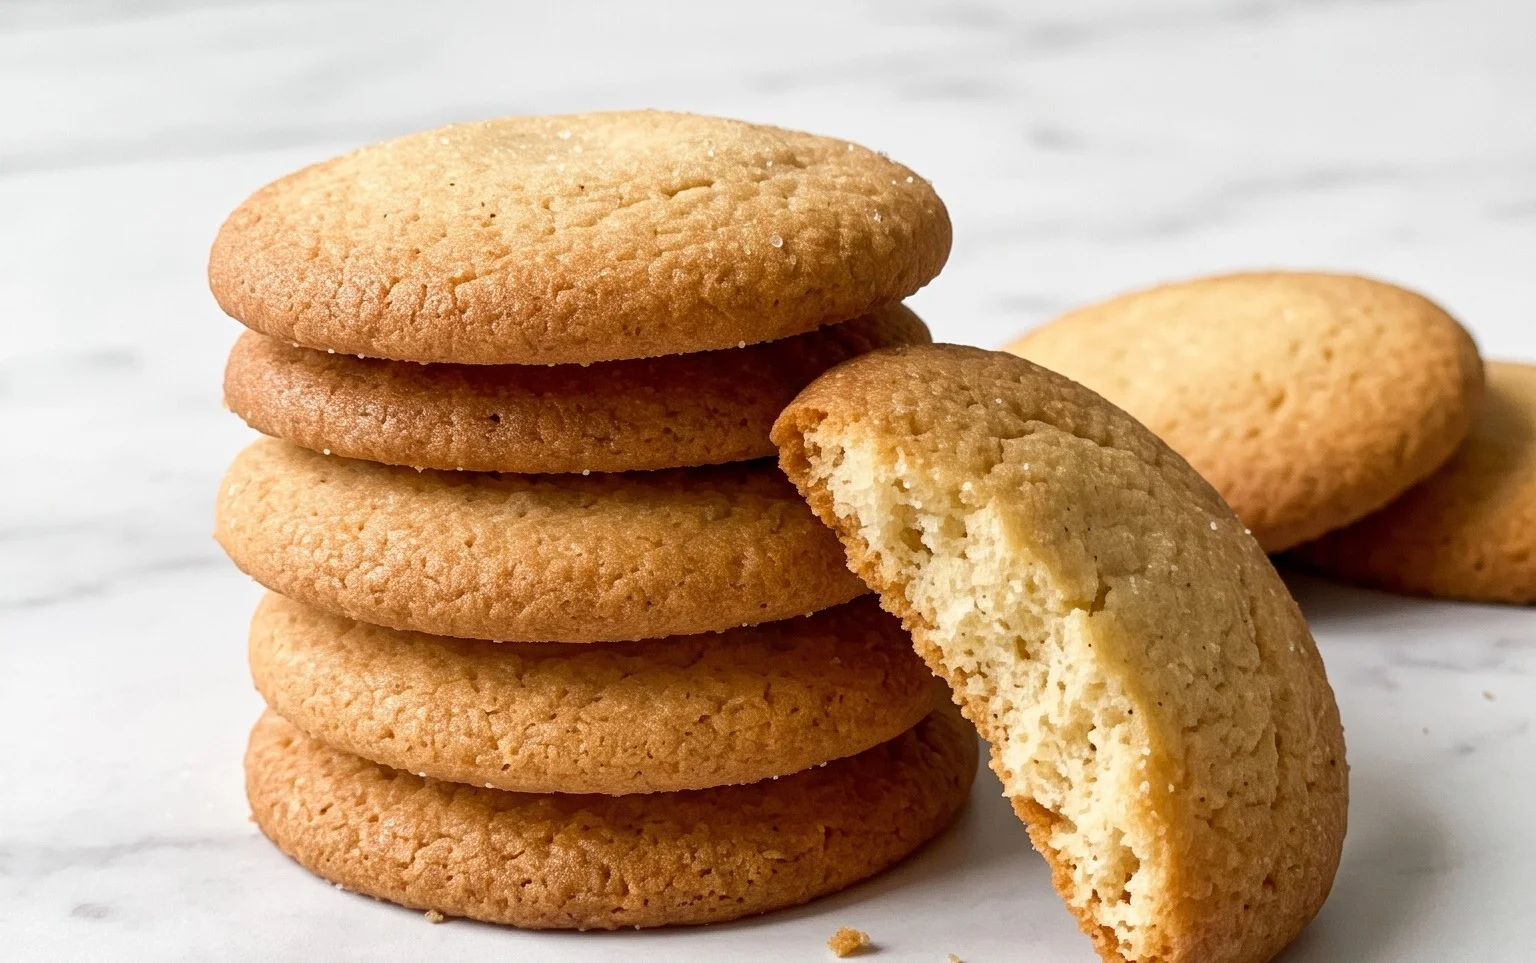
There’s a simple elegance to a perfectly baked vanilla wafer. These delicate, crisp cookies are more than just a sweet treat; they’re a versatile canvas for all sorts of culinary creations. From the base of a classic banana pudding to a delightful standalone snack with your afternoon tea, a homemade vanilla wafer is a treasure. Forget those store-bought versions that sometimes lack a certain something. With just a few pantry staples and a little bit of love, you can whip up a batch of these golden beauties that will have everyone asking for your secret. The aroma alone as they bake is enough to transport you to a cozy kitchen, filled with the promise of deliciousness. This recipe is straightforward, making it perfect for bakers of all levels, and the results are consistently delightful. Let’s get started on creating your own batch of these irresistible vanilla wafers!
Ingredients:
- 1 ½ cups all-purpose flour
- ¾ teaspoon baking powder
- ½ teaspoon Kosher salt
- ½ cup unsalted butter, (room temperature)
- ½ cup confectioners’ sugar
- ¼ cup granulated sugar
- 1 large egg, (room temperature)
- 1 tablespoon vanilla extract
- 1 tablespoon whole milk
Instructions:
Preparation and Dry Ingredients
The first step in crafting these delightful vanilla wafers is to prepare your ingredients and combine the dry elements. This ensures everything is measured accurately and ready to go, making the mixing process smooth and efficient. In a medium-sized bowl, whisk together the all-purpose flour, baking powder, and Kosher salt. Whisking these dry ingredients ensures that the leavening agent (baking powder) and salt are evenly distributed throughout the flour, which is crucial for consistent texture and flavor in your final cookies. A fine, even distribution prevents pockets of saltiness or areas that don’t rise properly. Once combined, set this bowl aside. This simple pre-mixing step is a hallmark of good baking practice, setting the stage for success.
Creaming the Butter and Sugars
Now, let’s move on to building the foundation of our cookie’s structure and sweetness. In a large mixing bowl, ideally the bowl of your stand mixer fitted with the paddle attachment, cream together the room-temperature unsalted butter, confectioners’ sugar, and granulated sugar. It’s essential that your butter is truly at room temperature – soft enough to indent with a finger, but not melted. This allows it to emulsify properly with the sugars, creating a light and airy base for our cookie dough. Beat these ingredients together on medium speed until the mixture is pale, fluffy, and well combined, which usually takes about 3-5 minutes. This process, known as creaming, incorporates air into the mixture, contributing to the delicate texture of the finished wafers. Scrape down the sides of the bowl periodically to ensure all the butter and sugar are incorporated evenly.
Adding Wet Ingredients
With our creamy base ready, it’s time to add the richness and aroma that defines our vanilla wafers. To the creamed butter and sugar mixture, add the large egg. Make sure your egg is also at room temperature, as this helps it incorporate smoothly into the batter without causing the butter to seize or curdle. Beat the egg into the mixture until it’s fully incorporated. Next, add the star of our show: the vanilla extract. Use a good quality vanilla extract for the best flavor. The tablespoon of vanilla extract will infuse our wafers with that classic, comforting aroma and taste. Finally, add the tablespoon of whole milk. The milk helps to adjust the consistency of the dough, making it slightly more pliable and easier to work with. Continue to beat until everything is thoroughly combined and the mixture is smooth and uniform.
Incorporating Dry Ingredients and Chilling the Dough
Now we bring together our wet and dry components to form our cookie dough. With the mixer on low speed, gradually add the flour mixture to the wet ingredients, about a third at a time. Mix only until just combined. It’s very important not to overmix the dough at this stage. Overmixing can develop the gluten in the flour, resulting in tough cookies. You want to see just streaks of flour disappearing. Once the last of the flour is incorporated, stop the mixer. The dough will be soft and slightly sticky. To make it easier to handle and to allow the flavors to meld, it’s essential to chill the dough. Cover the bowl tightly with plastic wrap and refrigerate for at least 1 hour, or until firm enough to shape. Chilling the dough not only makes it less sticky but also helps to prevent the cookies from spreading too much during baking, ensuring they maintain their delicate wafer shape.
Shaping and Baking the Wafers
Once your dough is thoroughly chilled and firm, it’s time to shape our beautiful vanilla wafers. Preheat your oven to 350°F (175°C) and line baking sheets with parchment paper. Parchment paper is your best friend here, preventing sticking and making for easy cleanup. Take small portions of the chilled dough – about a teaspoon’s worth – and roll them into tiny balls. Place these balls about 2 inches apart on the prepared baking sheets, as they will spread slightly. You can also gently flatten them with the bottom of a glass or your fingertips if you prefer a flatter wafer. For an extra touch, you can press the tines of a fork gently into the top of each dough ball to create a classic wafer pattern. Bake for 10-12 minutes, or until the edges are lightly golden brown. The centers should still look slightly soft. They will firm up as they cool. Allow the wafers to cool on the baking sheets for a few minutes before carefully transferring them to a wire rack to cool completely. This cooling period is crucial for achieving that signature crispness. Once completely cool, store them in an airtight container to maintain their delightful crunch. Enjoy your homemade vanilla wafers!
Conclusion:
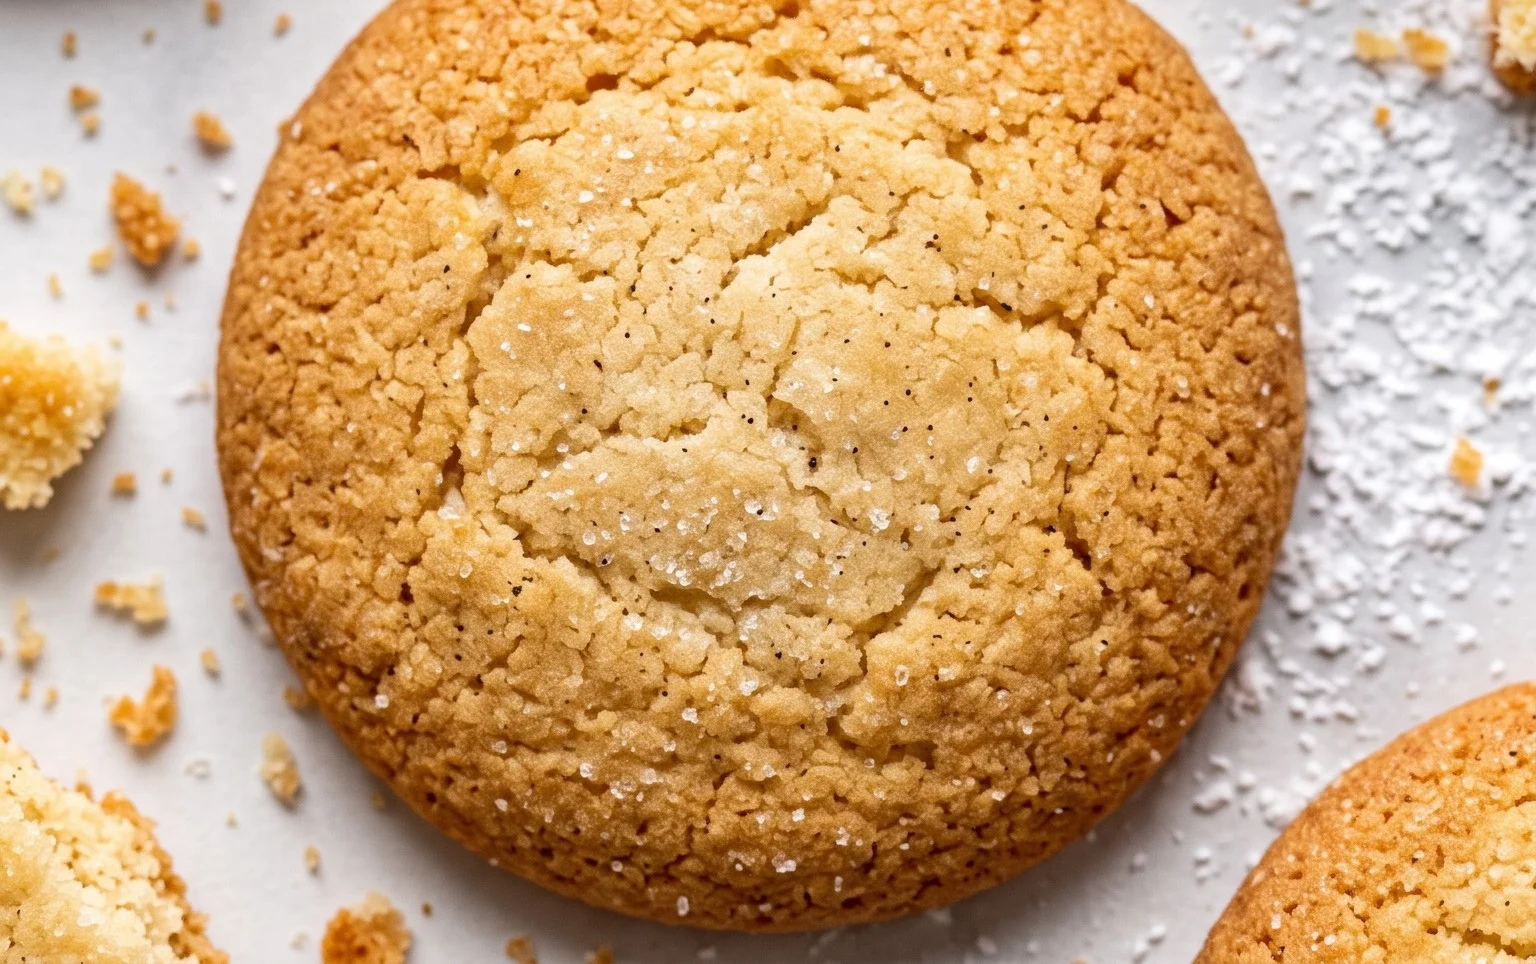
And there you have it! You’ve mastered the art of creating delightfully crisp and flavorful vanilla wafers from scratch. This recipe is truly wonderful because it’s remarkably simple, yielding results that are far superior to any store-bought variety. The delicate vanilla aroma and satisfying crunch make these cookies a universally loved treat, perfect for any occasion. I encourage you to give this recipe a try; you’ll be amazed at how easy it is to achieve such delicious results!
These homemade vanilla wafers are incredibly versatile. Enjoy them on their own with a cup of coffee or tea for a simple yet elegant snack. They also serve as a fantastic base for desserts like no-bake cheesecakes, icebox cakes, or as a crunchy topping for puddings and fruit crisps. Don’t be afraid to experiment with variations! You can add a pinch of cinnamon or nutmeg to the dough for a warmer spice note, or even a touch of citrus zest for a brighter flavor profile. Feel free to dip them in melted chocolate for an extra decadent treat.
Frequently Asked Questions:
How can I store vanilla wafers to keep them crispy?
To maintain their crispness, store your homemade vanilla wafers in an airtight container at room temperature. Ensure they are completely cooled before storing. Adding a small piece of parchment paper between layers can also help prevent them from sticking and absorbing moisture.
Can I make vanilla wafers ahead of time?
Absolutely! Vanilla wafers store very well and are even better after a day or two, allowing the flavors to meld. Simply follow the storage instructions above for optimal freshness.
What if I don’t have vanilla extract?
While vanilla extract is key to the classic flavor, you can substitute it with vanilla bean paste for a more intense vanilla experience, or even a little almond extract for a different but equally delicious nutty flavor. Just be mindful that almond extract is stronger, so use it sparingly.
Vanilla Wafers
Crispy and delicate vanilla wafers, perfect for dipping or enjoying on their own.
Ingredients
-
1 ½ cups all-purpose flour
-
¾ teaspoon baking powder
-
½ teaspoon Kosher salt
-
½ cup unsalted butter, room temperature
-
½ cup confectioners’ sugar
-
¼ cup granulated sugar
-
1 large egg, room temperature
-
1 tablespoon vanilla extract
-
1 tablespoon whole milk
Instructions
-
Step 1
Preheat oven to 350°F (175°C). Line baking sheets with parchment paper. -
Step 2
In a medium bowl, whisk together the all-purpose flour, baking powder, and Kosher salt. -
Step 3
In a large bowl, cream together the unsalted butter, confectioners’ sugar, and granulated sugar until light and fluffy. -
Step 4
Beat in the large egg and vanilla extract until well combined. -
Step 5
Gradually add the dry ingredients to the wet ingredients, alternating with the whole milk, mixing until just combined. Do not overmix. -
Step 6
Drop rounded teaspoons of dough onto the prepared baking sheets, spacing them about 2 inches apart. -
Step 7
Bake for 8-10 minutes, or until the edges are lightly golden brown. They will continue to crisp as they cool. -
Step 8
Let the wafers cool on the baking sheets for a few minutes before transferring them to a wire rack to cool completely.
Important Information
Nutrition Facts (Per Serving)
It is important to consider this information as approximate and not to use it as definitive health advice.
Allergy Information
Please check ingredients for potential allergens and consult a health professional if in doubt.